• As Life Would Have It

Jean's Blog of Life, Farms and Everything

~ Welcome to life on our mini-farm in the AriDzona desert!

Jean's Blog of Life, Farms and Everything

Tag Archives: garden

Billiam’s Backyard and Patio Reveal!

01 Monday Sep 2014

Posted by Jean in General Farm Stuff, Grief, Home and other Repairs, Rural life, Uncategorized, Wood Crafts

≈ Leave a comment

Tags

DIY, diy chair, do it yourself, garden, garden bed, hanging bed, home decor, home furniture, homemade furniture, how to handle grief, landscaping, outdoor furniture, pallet, patio, patio chair, patio furniture, storage bench, swinging bed, wood chair, wood craft, wood furniture, yard

First of all, I need to thank John. Without his help some of these things could never have been accomplished and the rest would have taken me two years instead of 6 months. Secondly, I want to thank Ana White for the inspiration to Do It Ourselves, and the little family at More Like Home for adjusting some of the plans on Ana’s page so that the projects could be built with 2x4s and for their other 2×4 projects. Thank you to the Apartment Therapy and Houzz sites for their daily decorating inspirations. Thank you to the guys at Articulate Motion for keeping us in pallets, donating a chunk of fabric, and adjusting the metal fire inserts so that they could be used in the dining table. I want to thank the DIYers out there who showed us how to make Beer Bottle Tiki Torches and inspired our hanging bed. Speaking of that hanging bed, I want to thank the wood gurus at Home Depot for putting us on a safe path on that journey. Finally, thanks to all the friends and family who cheered us on and helped us through this traumatic year.

So, here we go! This is what the patio looked like before when we were in the first week of the redo:

patiosouthendbeforepationorthendbeforeBleak wasn’t it?

INSERT FANFARE HERE!

patiotriumphpatioreflectionpatioatnightpatiodiningareapatiogardenconversationareabeerbottletorchespatiobeerbottletorches1patiotablefireinsertshangingbeddressedup

Share this:

  • Twitter
  • Facebook

Like this:

Like Loading...

Billiam’s List: Patio Dining Table

16 Saturday Aug 2014

Posted by Jean in Home and other Repairs, Rural life, Uncategorized, Wood Crafts

≈ Leave a comment

Tags

DIY, farm, garden, home decor, home furniture, homemade furniture, landscaping, outdoor furniture, patio furniture, wood craft, wood furniture, yard

Turning back to wood after the tie-dye fiasco we had much better success. My niece will be in town Labor Day weekend and for that special event I decided to unveil the new backyard to the entire family. The only small problem with this is that the patio isn’t finished. I still needed a table and more chairs. This is a bbq event and it’d be nice for the family not to have to sit in the hot gravel. I also had wanted to build a cabinet around an existing old table, and a counter top for meal prep by the grill. If all John and I had to do every day was dink with the patio all these things might get done in spite of the Arizona desert summer. Unfortunately, John doesn’t get enough time off, and it’s way too much for one old woman in this heat. Best we’re going to do is the table and more chairs. The rest will have to wait until the temps dip back down into the low 90s and preferably the 70s.

We decided to tackle the table first. I’ve gotten so good with the chairs that I can whip out two a day by myself, even with frequent breaks to rest my back and hips. The table is too big a project for two hands and we wanted to succeed at something new to get that curtain out of our systems.

2x4s make GREAT, heavy duty, stand up to the test of time, furniture and they’re the cheapest wood buy out there. However, here are a couple of things we’ve learned about them: 1. They’re cheap because they are generally used where no one can see them and it doesn’t matter if they’re warped, twisted or bowed. You have to lay them down flat and be sure they stay flat on on four sides.  You can actually go through a whole stack of 2x4s at Home Depot in order to find twelve straight boards. 2. Once you’ve checked them thoroughly for chewed up spots, warps, twists and bows, you need to use them within a very few days or they will get warped, twisted or bowed even in the dry desert.

The plan for this table is fairly true except that we found the overhang to be less than 2 inches on all sides of the table top. You can find the shopping list, cut list and instructions here: http://www.morelikehome.net/2012/10/day-18-build-homestead-dining-table.html

diningtablecuts

The table looked like a large, fairly complex project, until we saw the cuts laid out on the ground like this. These are the boards, cut and ready for an 8 foot table. Seriously. That’s it. There are ten 8′ boards still in the garage, but if you get 8′ 2x4s you don’t need to cut them.

Because this table will be painted (I’m almost as sick of stain and urethane as I am of dye.), I was not going to waste time with a ton of pocket holes. However, if you prefer staining pocket holes are your best bet so you don’t have to worry about screw heads showing everywhere.

We began with a basic frame to hold the table top. Just a big rectangle with the side boards attached to the ends of the front and back boards.

diningtableouterframe

Into this outer frame, we added 4 support boards.

diningtableframefinishedThe plan for this table calls for two legs at each corner. This adds to the stability when you find a team of percherons to drag this massive table from one place on the patio to another because it’s not about lifting it, and it also adds a bit of architectural interest to a simple design. Because the extra set of legs attach to the table top (this time we did use pocket holes) and to the leg support board, we added them to the frame last.

diningtablelegsOnce we attached the leg support board and the stretcher, we could attach the second set of legs, and all but the table top was done.

diningtablelegsstretcherThis shot of the table top part of the build is interesting in a couple of ways. 1. Like duct tape, baling twine has a billion uses around here. In this instance, it is being used as a simple twist style clamp to hold the boards together at each end so they could easily be screwed into the frame, and also because we waited too long to use these boards and a couple of them became slightly bowed to the side. This straightened them right up and kept them from moving while the boards were attached. 2. That legitimate store bought clamp you see on the left was used to tame the boards that were twisted and warped when we left them in the garage for a couple of weeks after purchase. Because there was little room for the boards to attach at the outer edge of the table top, we did drill pocket holes about every 15 inches so that the boards could be attached not just to the frame, but to the adjacent boards as well.

alwaysneedhaystring

Several views of the finished table. Once the chairs are completed all the wood furniture will be sent to the barn where we will learn how to use the paint sprayer.

patiodiningtablefinishedpatiodiningtablefinished3patiodiningtablefinished4We got a late start on this table which added to the heat exhaustion problems. Because apparently aliens have developed an insatiable taste for 2 1/2″ screws, John had to run to town for a bucket load and we didn’t start cutting until a little past noon. The patio temperature had us both running and dunking in the pool every time our clothes dried out which was about every 20-30 minutes. I personally guzzled 3 liters of water and a gigantic fountain diet coke in 4 hours and still got a heat headache. In spite of plastering spf 80 sunscreen on my skin, I still managed to burn red, or I guess it could have been bake red. But, in spite of the heat we managed to get this table done from cutting to ready to paint in a little less than 5 hours. That’s how simple it was.

Share this:

  • Twitter
  • Facebook

Like this:

Like Loading...

Tie-dye (sort of) Patio Curtain, semi-fail.

15 Friday Aug 2014

Posted by Jean in Home and other Repairs, Uncategorized

≈ Leave a comment

Tags

DIY, do it yourself, garden, home decor, landscaping, outdoor furniture, patio, yard

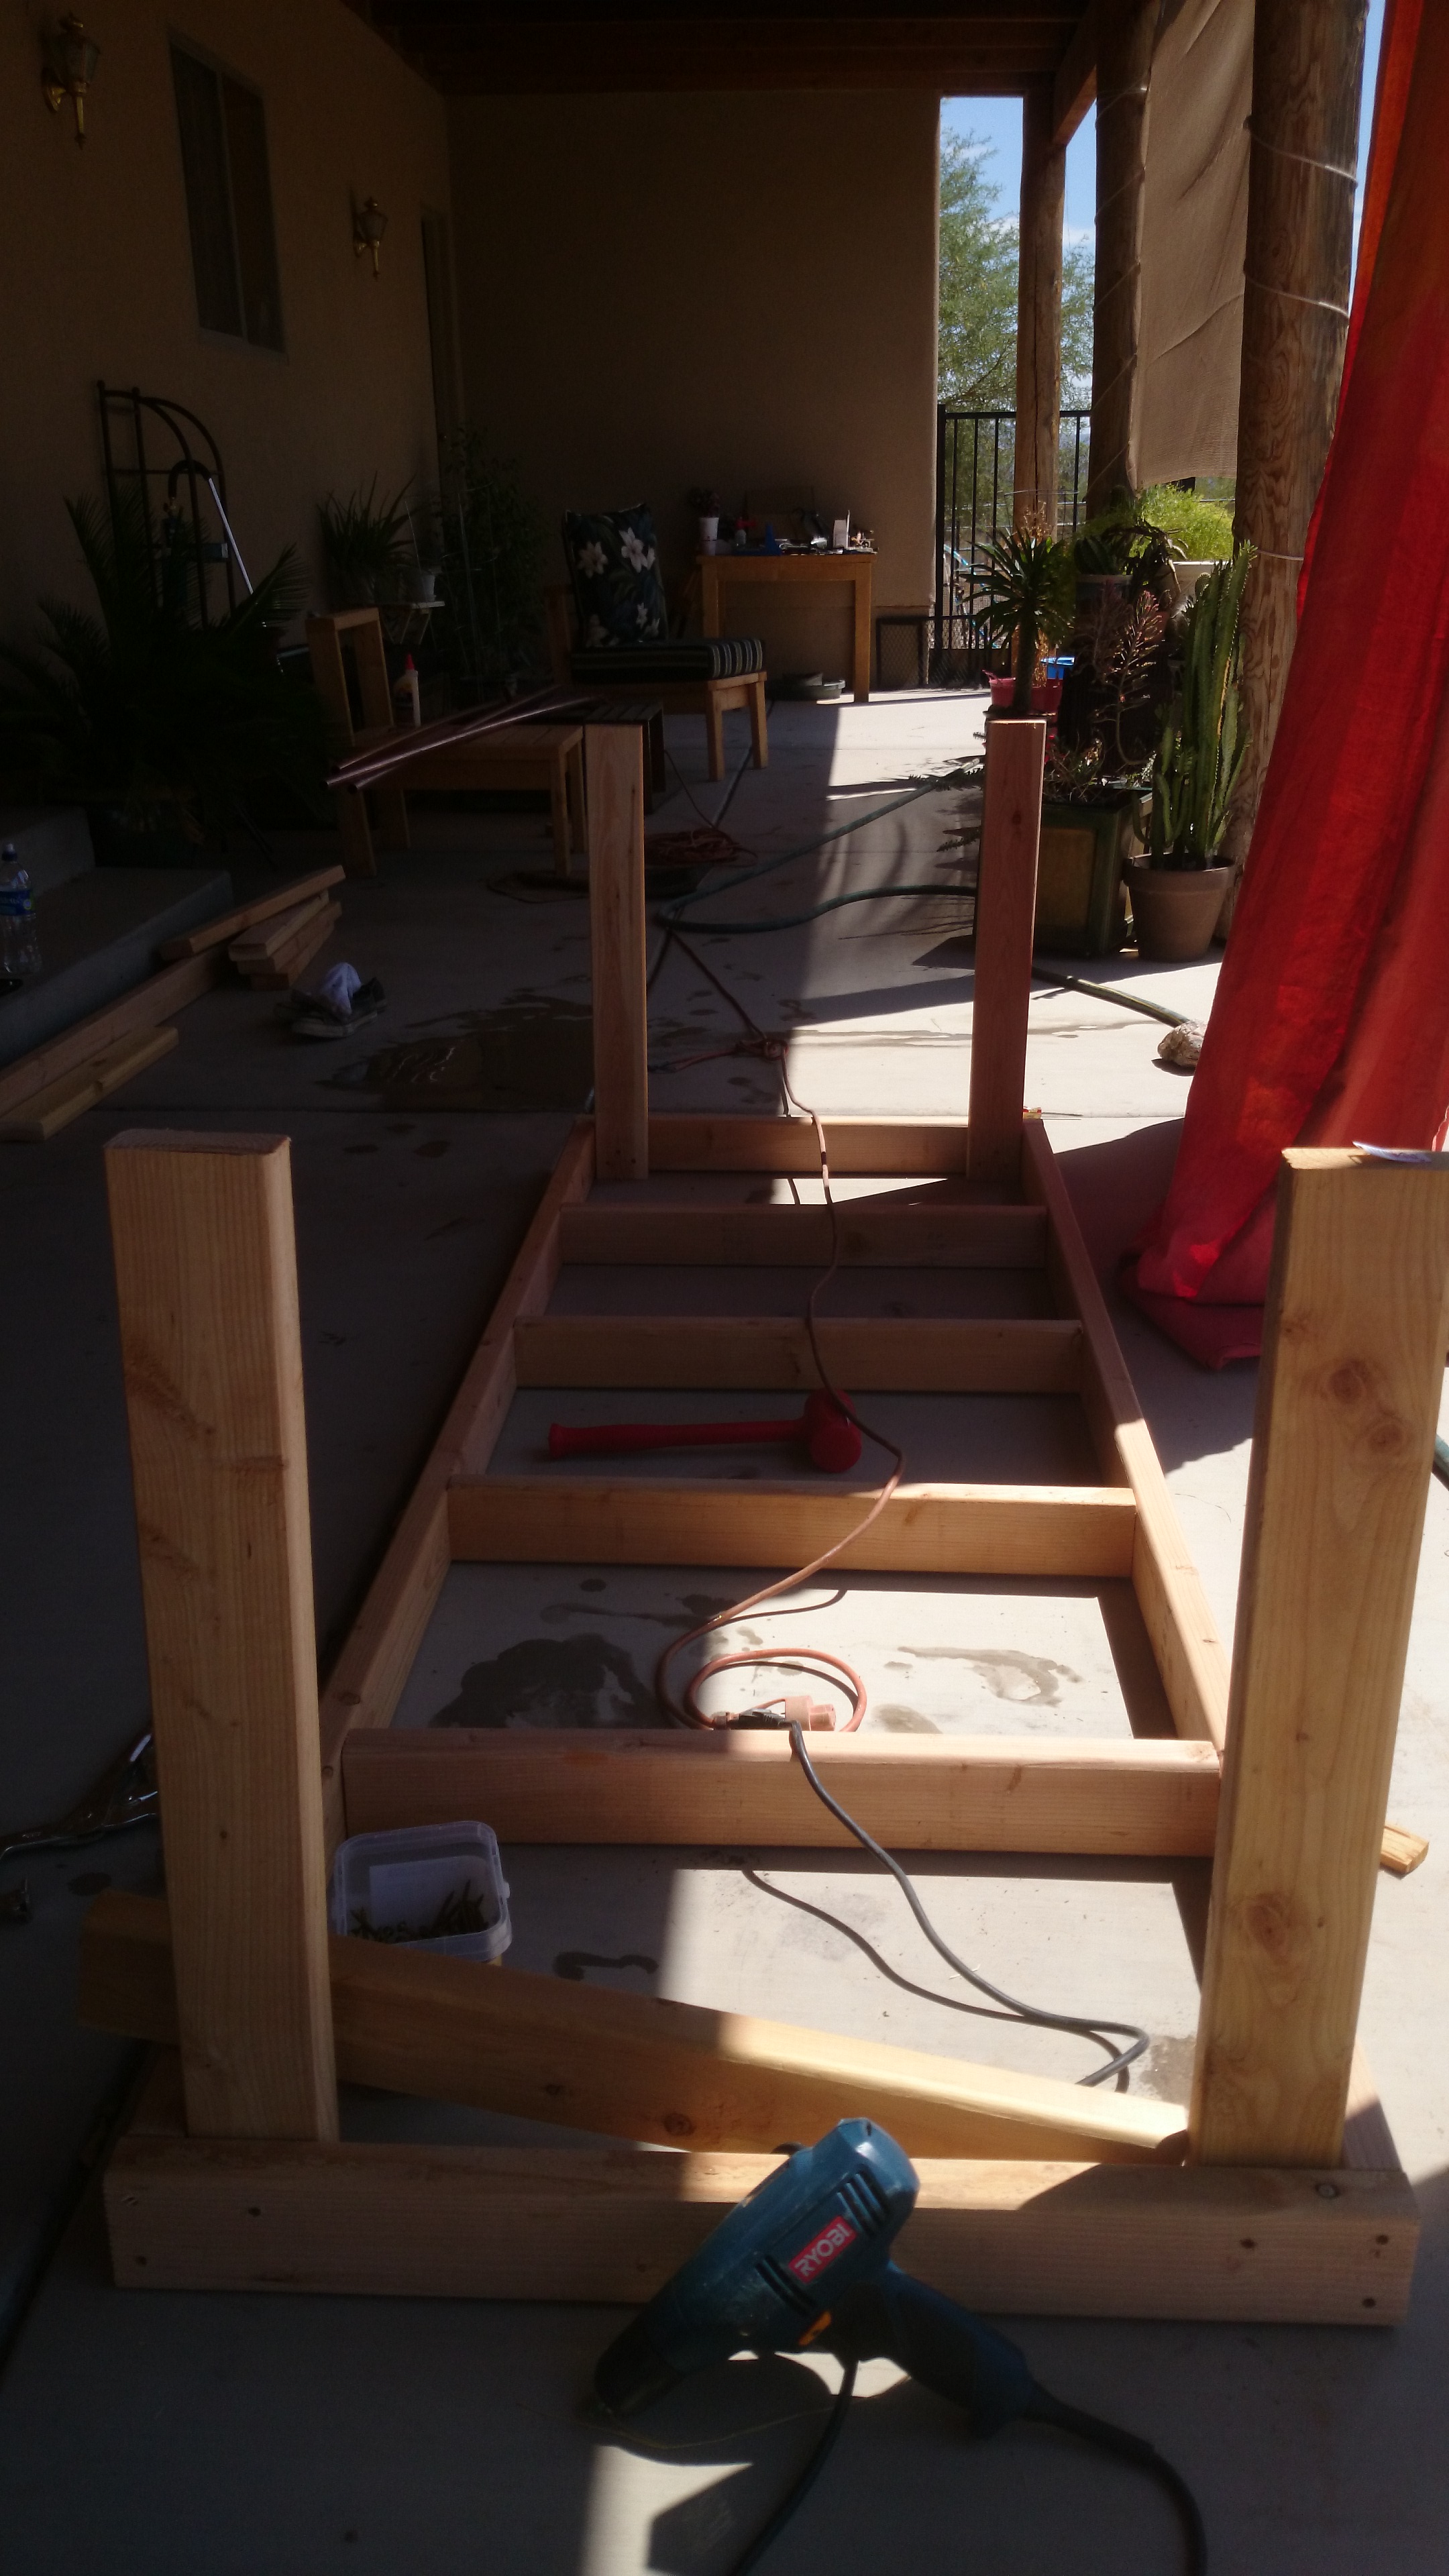
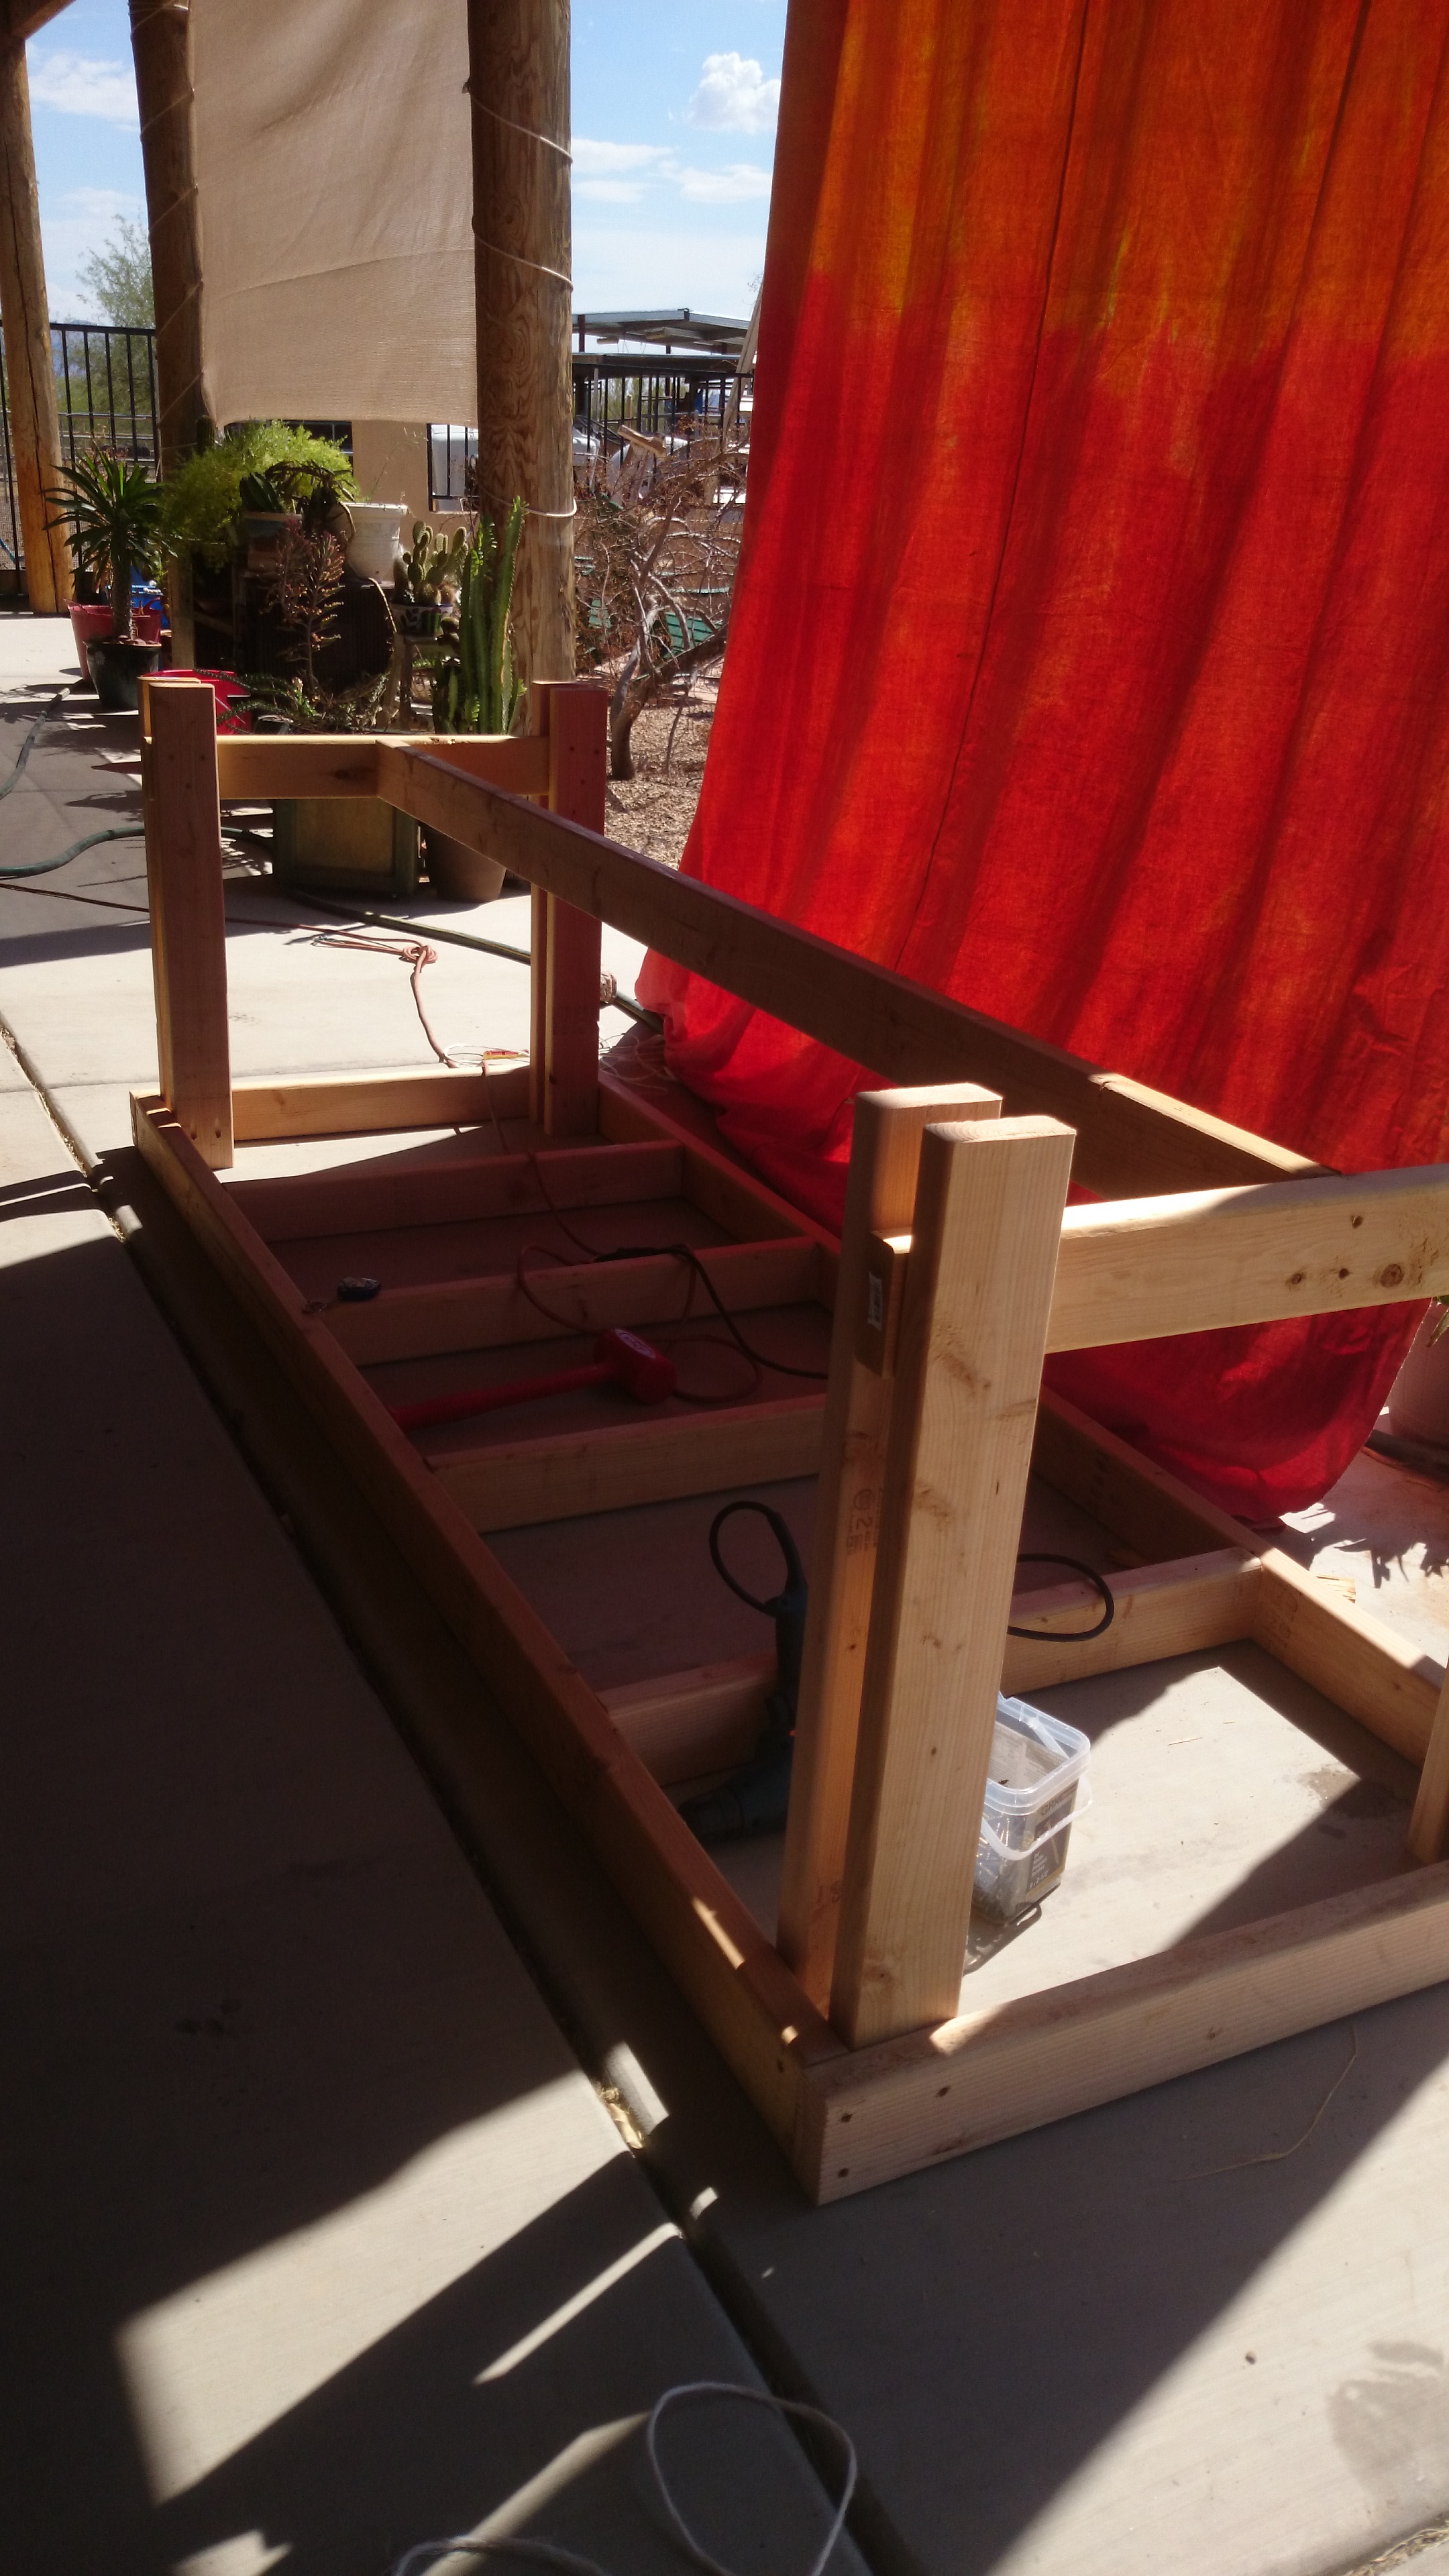
It has been brought to my attention that I haven’t posted to the blog in a while and that observation would be correct. I live in the desert. It’s summer. The only place I have to build the furniture is on the large, west facing patio (aka the oven) that collects heat from noon onward. When it’s 110 degrees, that patio hits 130, bacon, eggs and pancakes can be made on the cement slab. Not even constant dunks in the pool and 80 spf sunscreen can prevent heat exhaustion and burns. So, yeah, not much to blog about here, but we did suffer through two projects, three if you count one monumental fail.

John and I began dabbling with tie-dye to make ourselves some shirts. While I was Googling tie-dye patterns, I came across a multitude of other tie-dye, dip dye, sponge dye and every other kind of dye method you can imagine. They all made the process sound so easy and the results were wonderful. One project for dip dying curtains really attracted my attention.

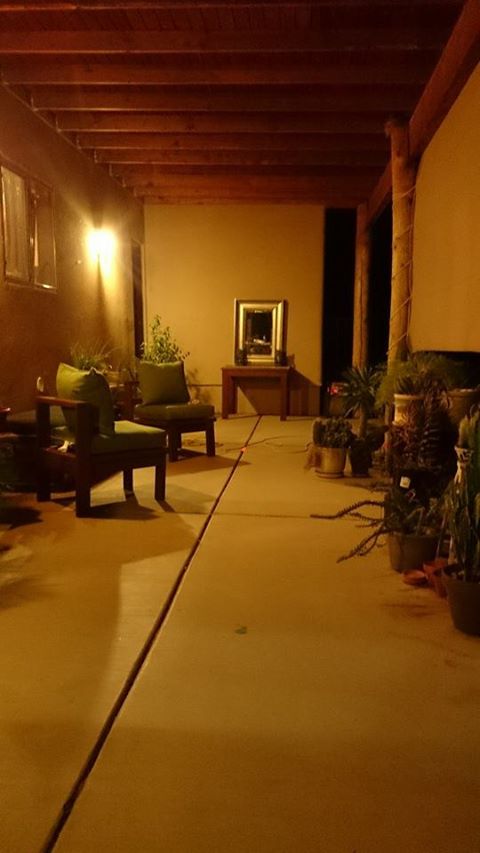
Because that gigantic patio faces west and collects enough heat to bake pottery, I’ve been trying to figure out a way to add shade. With my need for cheap project materials I’d decided to use the large cotton drop cloths that can be found in the painting supply sections everywhere. I’d had this idea many years ago and should have acted on it then. Several years ago there was such a thing as a cheap WHITE cotton drop cloth. By white, I mean WHITE. I should have stocked up. I should have filled closet shelves with them. The lesson learned here is that if you find well made materials (or anything else) that you have a use for or may have a use for in the next few years, get them. The one thing that we can apparently count on is that what is well made and inexpensive today, will not be as soon as someone figures out how to make it cheaper and charge more for it. There are no more plain white cotton drop cloths any more, anywhere. They’re all a drab oatmeal color. I can only assume that manufacturers have stopped bleaching the fibers to save time and cost. At the same time, however, these drop cloths have doubled in price. Gee thanks.

I bought enough oatmeal colored drop cloths to cover each of the 12 foot spaces between the columns on my patio. I then proceeded to bleach the heck out of two of them. They require fairly large buckets of which I only had two to spare. I let them both soak in a half gallon of bleach mixed with 10 gallons of water, for two days, in the sun. Are they white now? Heck no. The best of the two turned a very pale oatmeal. The worst, a light shade of gray, even after washing and rinsing several times to remove the bleach before dying.

Using the very pale oatmeal cloth, and following the instructions for Rit dyes, I set up buckets with my dye colors and dunked a section of the cloth in each color. Stretching the cloth out like a scrunchy cloth snake, over a line of buckets, and pushing each section down into the dyes allowed for several inches of space between colors so the dyes could spread up a bit between colors but not mix together.  I let the cloth soak in the dyes for an hour or so while I tie-dyed some kiddie clothes and some little white 5.00 sneakers I’d found. I then squeezed out each section of the cloth and left it over night. The colors were vivid, a bit too vivid. I made the mistake of hoping it would fade a bit in the wash. I hosed off the extra dye and then put the cloth through the washer and dryer. Boy did it fade. What were once true colors when they came out of the dye, faded and muted to the point that they were unrecognizable as the original dye colors. Completely unsatisfactory for cheerful breezy patio curtains.

As I was screeching about the monumental waste of time and money with Rit dyes, a couple of friends suggested using Procion mx dye with soda ash. Guaranteed to give vibrant color that stays that way. I ordered some. Not only is it more expensive than Rit, it also comes in tiny jars with no more than a few teaspoons of dye powder in them. I used several jars of each color just for one curtain. The amounts were so small, that there was no way to dip dye. We soaked a cloth in the soda ash water, hauled it to the barn, spread it on the rubber mat aisle between stalls and painted each color on with paint brushes. Carefully folding the cloth in 4ths so that only like colors touched, and then placing garbage bags between folds to prevent different colors from bleeding onto each other, we folded it up and shoved it into a garbage bag to let it sit for a day and a half.  We then hung it over a stall fence and proceeded to rinse it with hoses until the water ran clear, before we washed and dried it. It was bright after we dyed it, bright after we rinsed it and holy merde is it bright now.

I can only count the second curtain as a semi-success. I’d been going for a water color sunset effect, but got something that looks more like a vibrant, rainbow beach towel. I will not be making one to match. The others will be dyed a solid color as soon as I can pick a color and get enough of it to dye 3 more curtains.

patiocurtainpaintingI’d managed to wallow around on the ground for two stripes before I got too coated with dye, too hot and was in too much pain to continue. John finished up my stripes and his. I’d not suggest you try this if you have bad hips, bad knees, bad shoulders and a bad back.

patiocurtainrinse
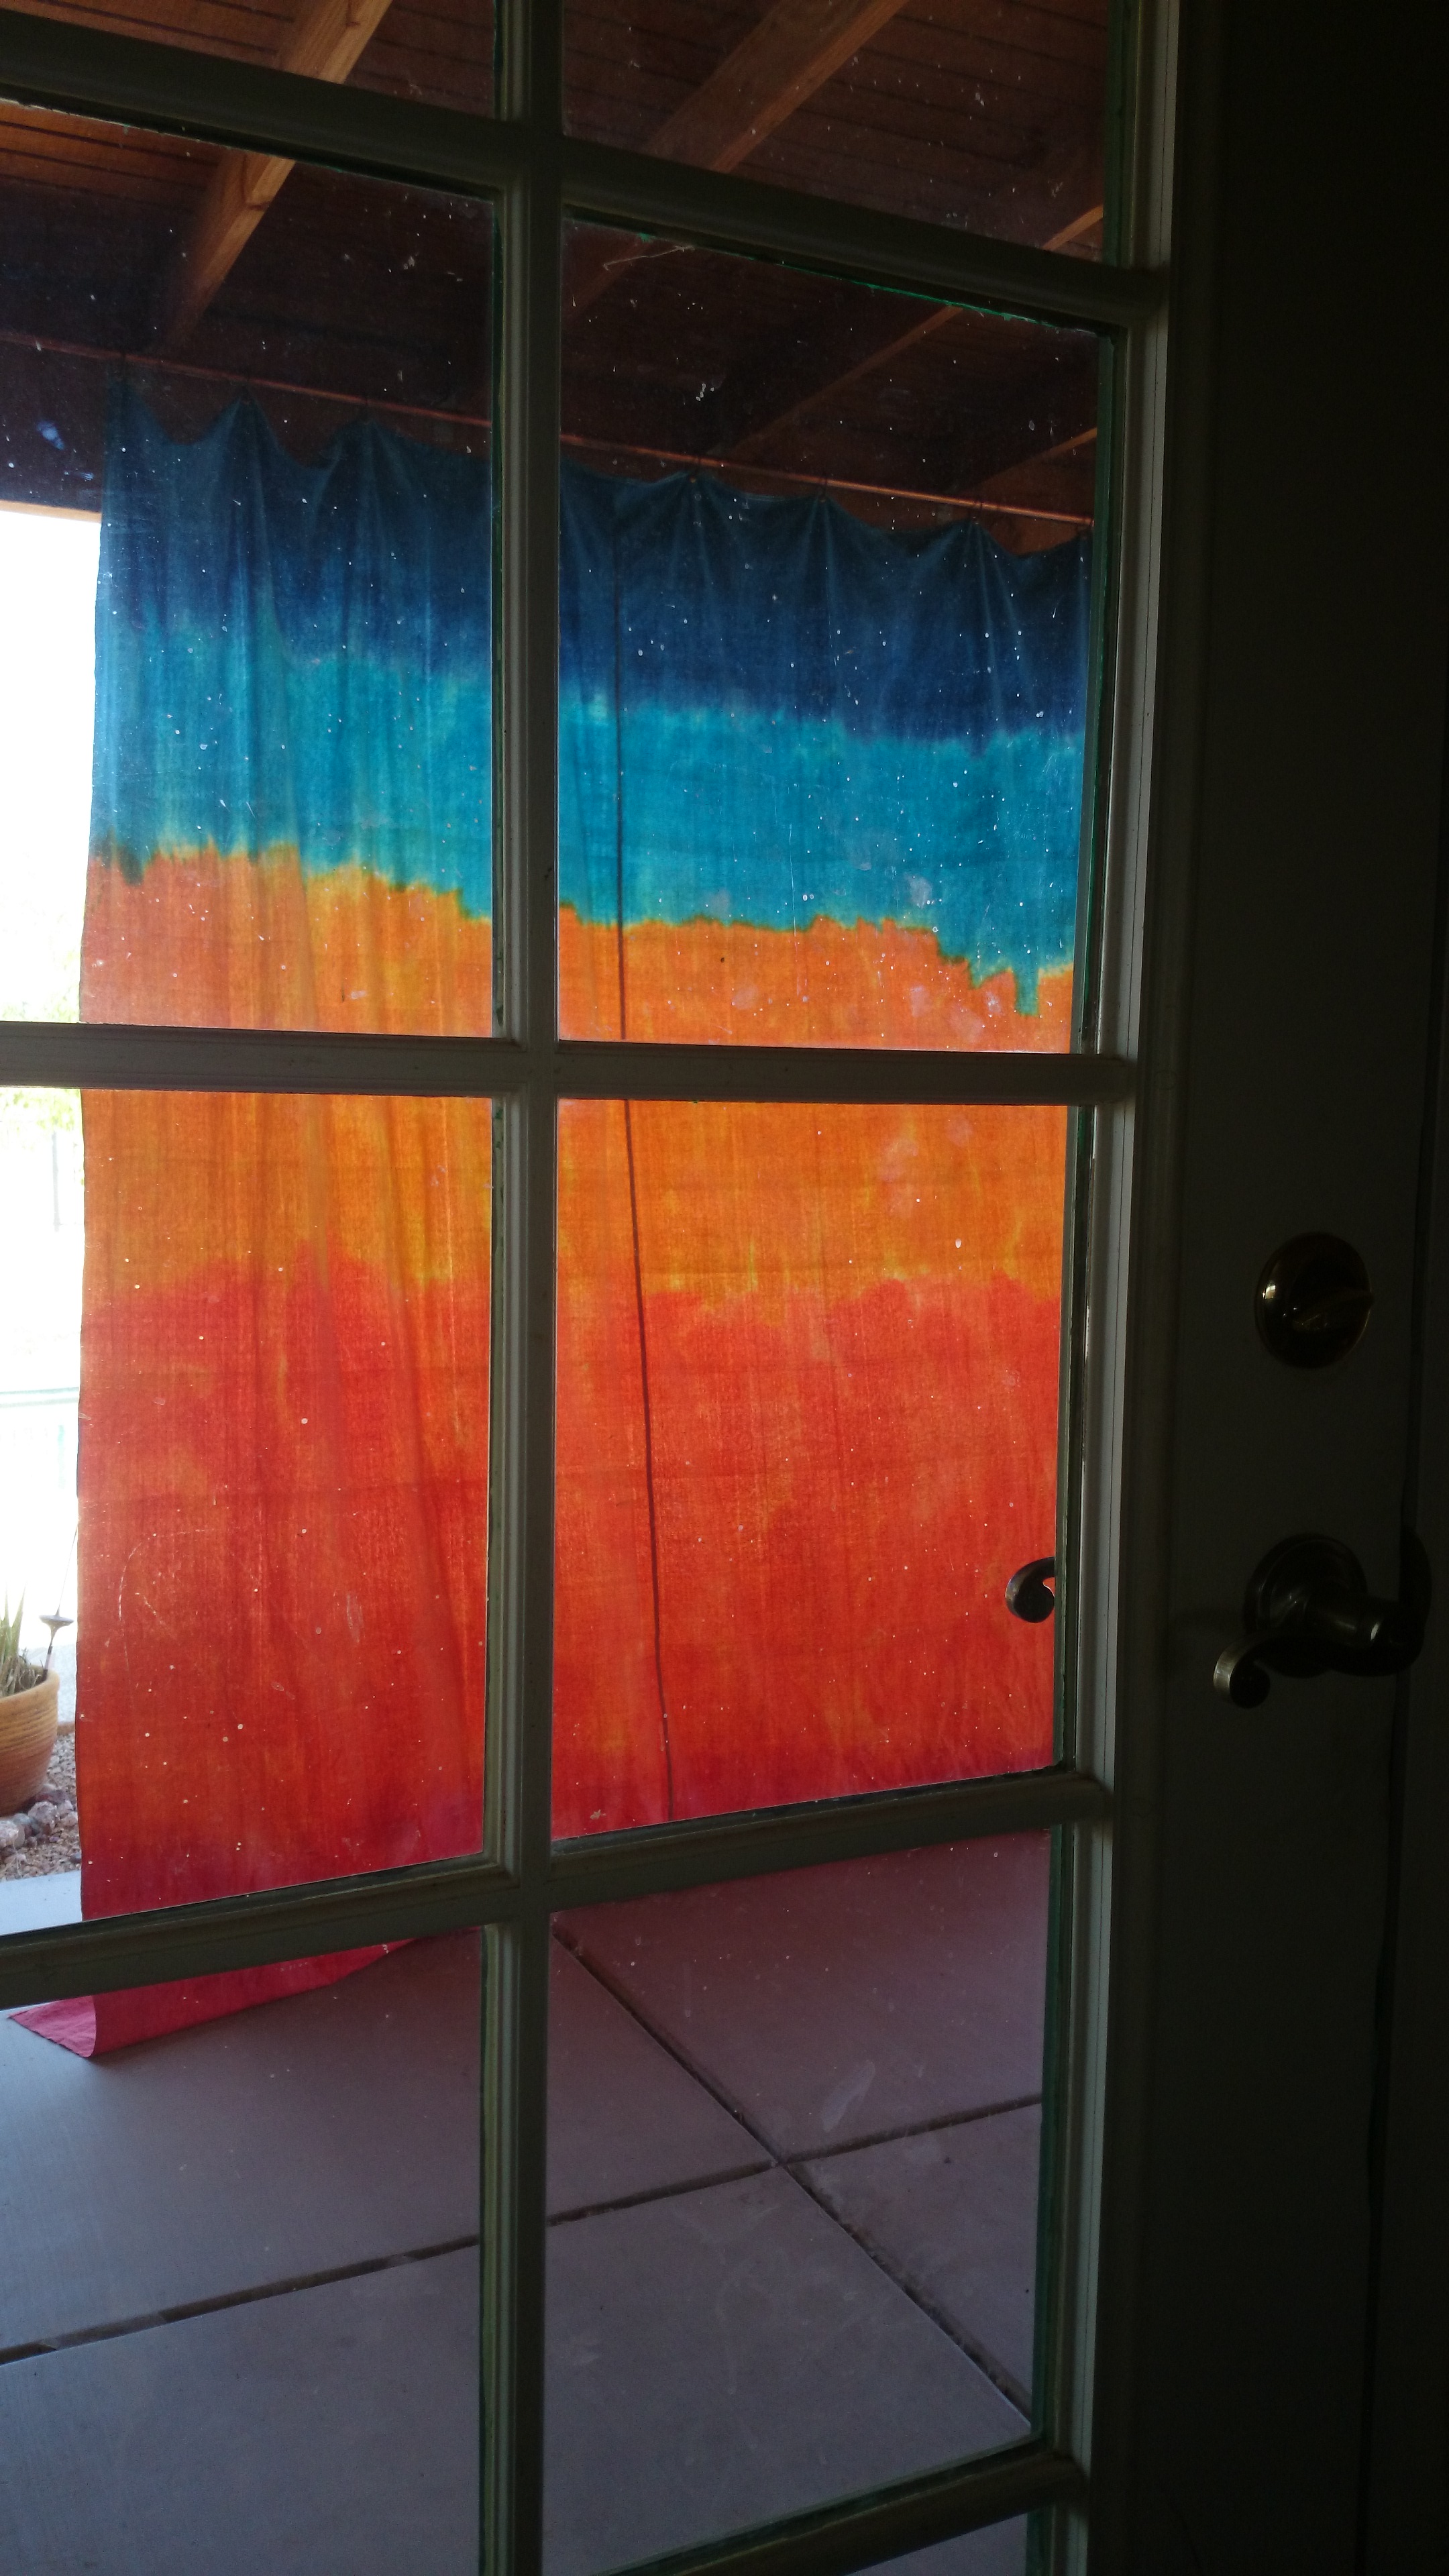
After letting it sit for a day and a half, we hung it over the pony wash rack fence to rinse it. This is AFTER the rinse.

patiocurtainup3
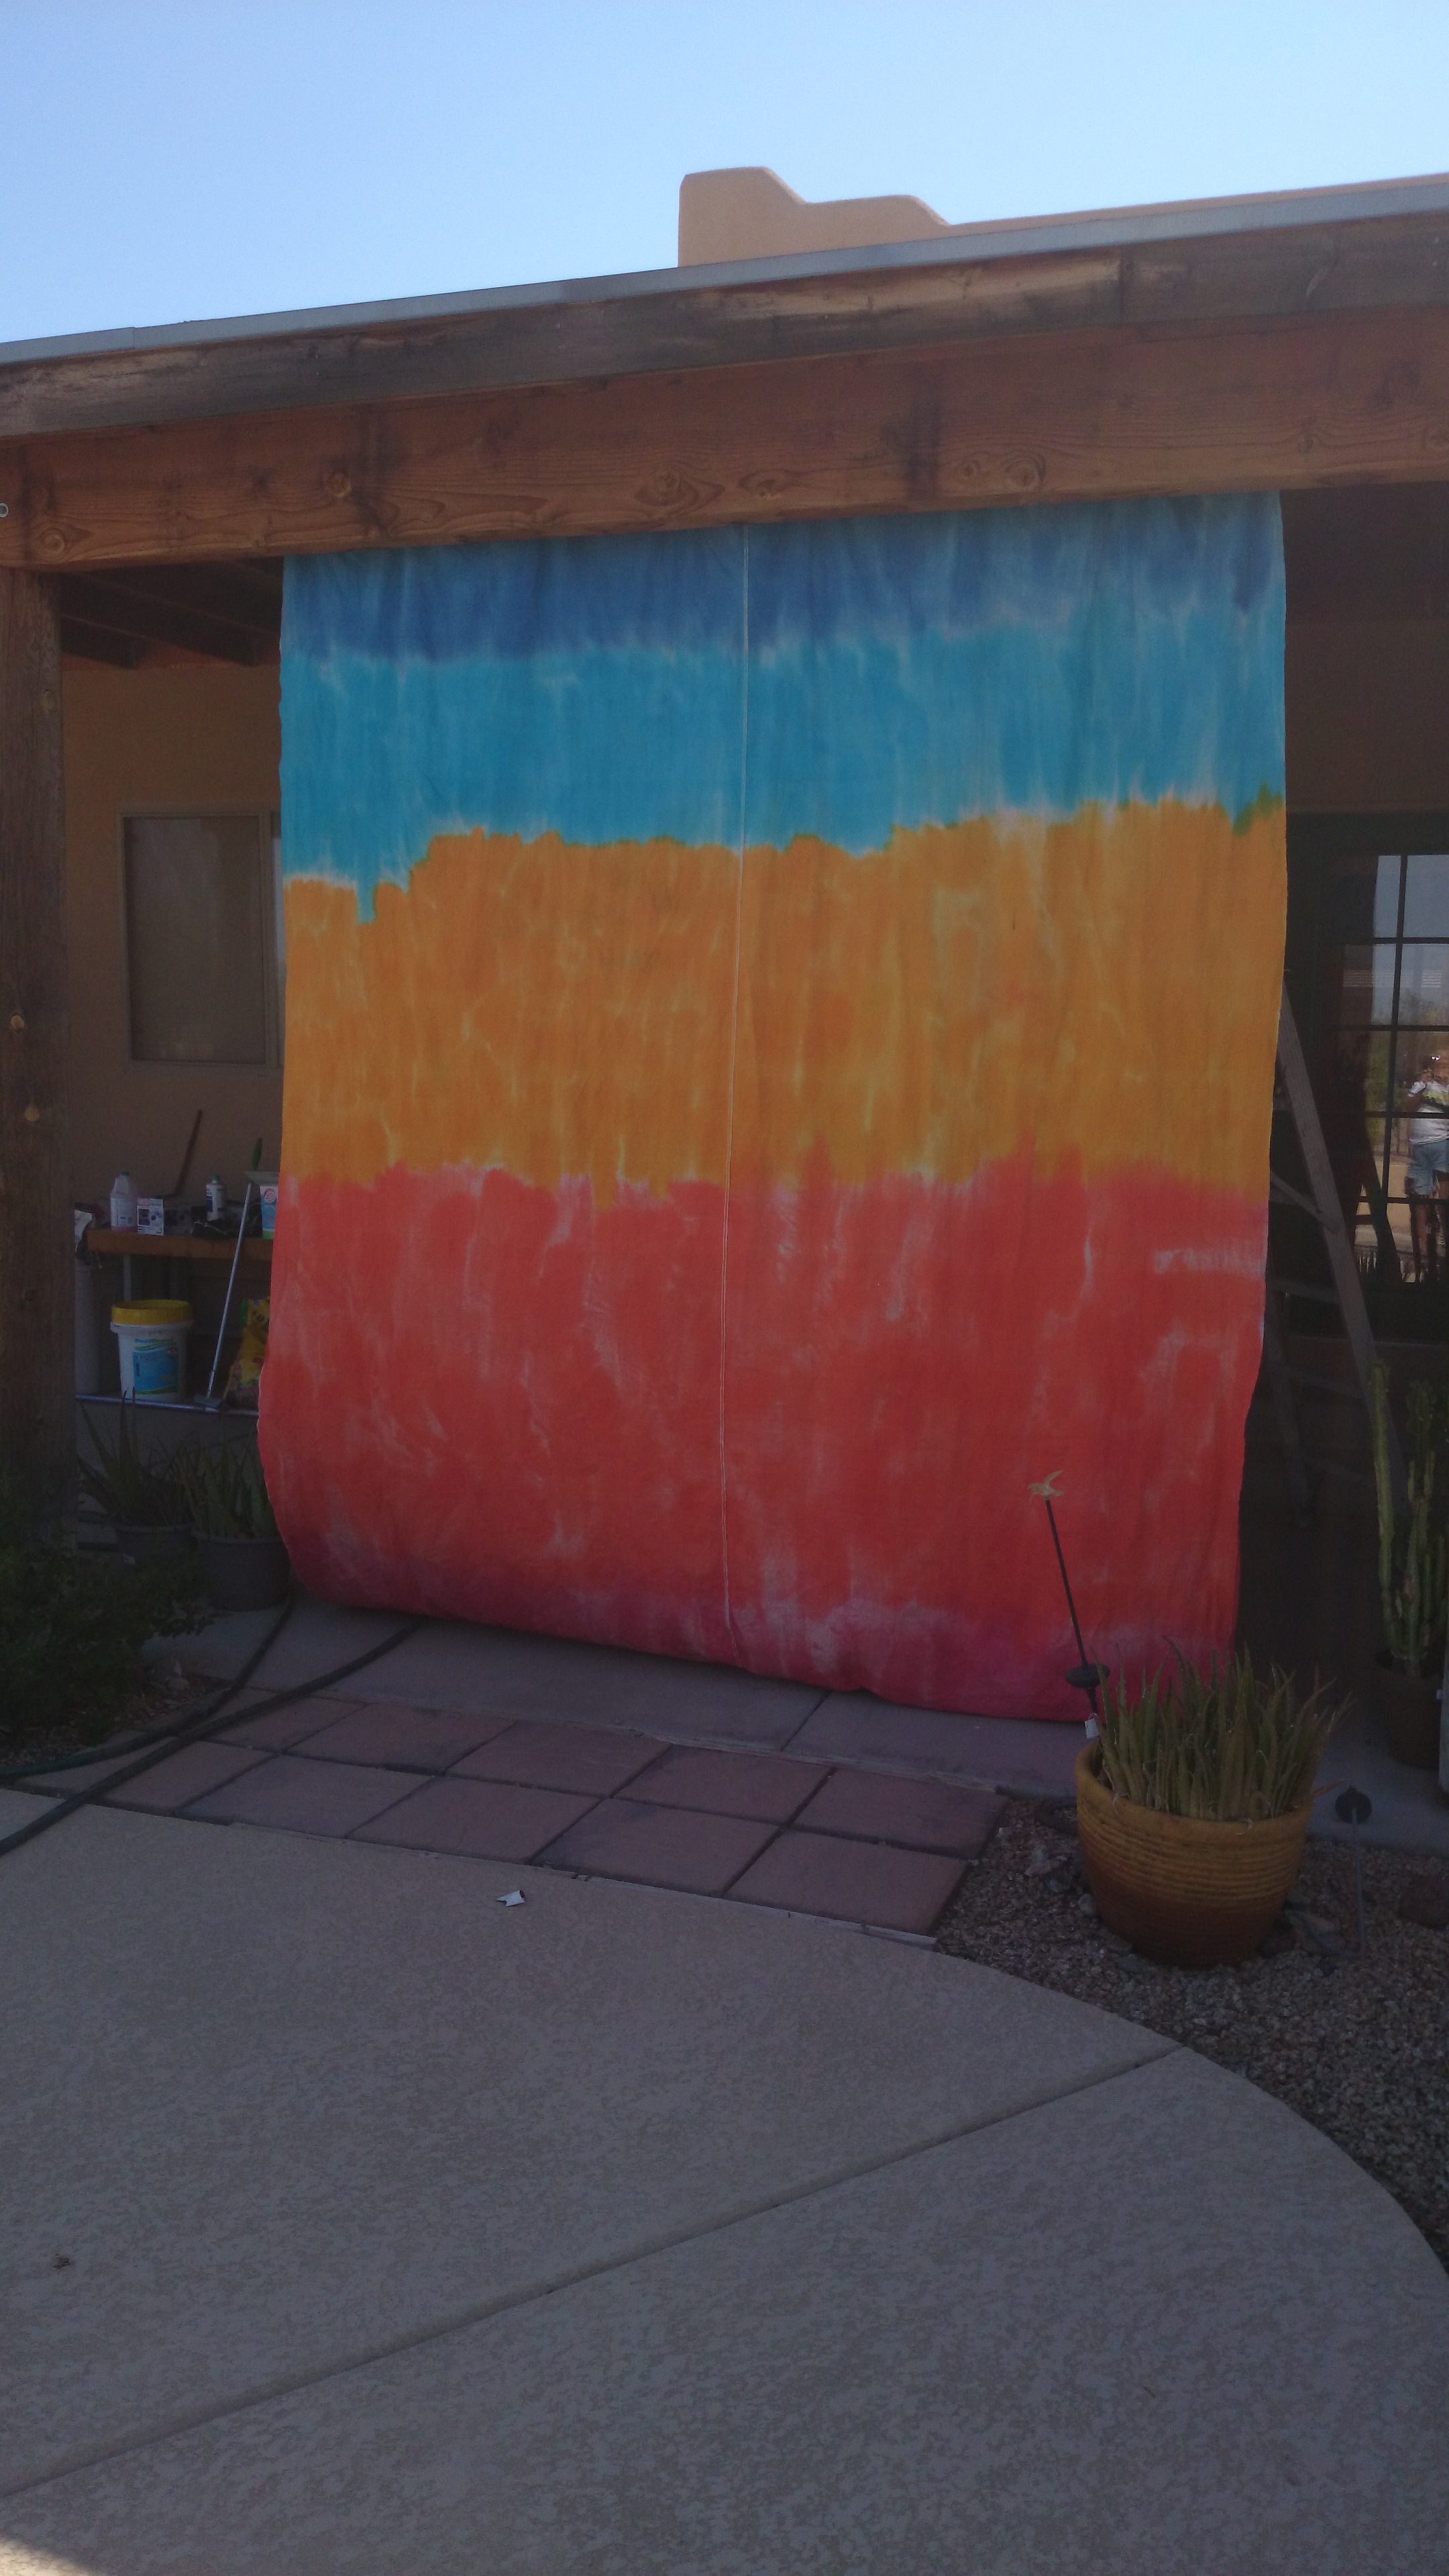
This is how it looks from the covered patio side with the sun shining through it. Definitely cheerful and it does indeed provide shade.

patiocurtainup2But from the outside, we have the world’s largest beach towel. I suppose it’s sort of appropriate since this is the pool side view, but not what I was looking for.

patiocurtanfrominsideThis is my view from inside the house. Umm, yeah, the others will be solids. This may one day become a colorful shade for horse stalls.

The end results of these two efforts in outdoor curtain dying are:

One giant beach towel which may end up as a barn shade, one very muted curtain that will definitely hang as a barn shade, and a large blue splotch on the parking pad that looks as if a Smurf met it’s doom (the tarp we were using apparently had a hole. This is why the operation was moved to the barn aisle).


Share this:

  • Twitter
  • Facebook

Like this:

Like Loading...

DIY Billiam’s List Patio Chair

25 Sunday May 2014

Posted by Jean in General Farm Stuff, Home and other Repairs, Wood Crafts

≈ 1 Comment

Tags

DIY, diy chair, do it yourself, garden, home decor, home furniture, homemade furniture, outdoor furniture, outoor furniture, patio chair, wood chair, wood craft, wood furniture, wooden chair

Working strictly with the 2x4s that were included in the Craig’s List haul several months ago, I built a patio chair this weekend. You folks could do this in just a few hours, but I have to take frequent and extended breaks. Even with breaks, I’m a hurting unit right now and will need to take a couple of days off. However, as I recline with my bottle of Tylenol, binge watching Netflix, while my back and hip realign themselves, I will be smiling with pride, because this is the first of our many projects that I built entirely without help.

The original project plans, not using 2x4s, by Ana White, can be found here: http://ana-white.com/2010/05/plans/simple-modern-outdoor-sectional-armless-section

The above plans were modified for using 2x4s which changes the “cut list”. If you plan to make yours out of 2x4s, which to me are sturdier as well as less expensive, use the cut list on this page: http://www.morelikehome.net/2011/06/our-new-outdoor-sectional.html

To the above cut list, you should add another 2×4 cut to 21″. As you will see in my photos, the chair really needs another back board midway between the top of the back and the back of the seat. This board is not added to the 2×4 cut list, yet it is shown in her photos of the finished sectional.  Ana White’s page doesn’t show this board at all in her diagrams and only shows cushions resting against the back, which doesn’t look comfy.

patiochairsectionseatbottomFirst I put together the seat using the Kreg Pocket hole system. This photo shows the pocket holes at each end of the seat boards. This is the bottom of the chair seat which will be unseen unless someone turns the chair over to check my handiwork and that someone will likely not be invited back anytime soon. Using the pocket holes on the bottom saves you from screwing in from the top to attach everything, leaving visible screws if you care about things like that.

patiochairsectionalseatThis is the top side of the chair seat. See? No screws. It’s magic! This technique also seemed to make the seat very easy to attach to the support frame.

patiochairsectionalsupportAlthough neither of the above sites mentioned it, I used pocket holes in the support frame, not only to attach the frame to the front and back of the chair, but also to the seat boards. I placed three pocket holes along the top edge of each support board as well as the side and front aprons. I laid each piece out on the chair seat and marked where the pocket screws would connect to the seat and then drilled the holes. This took all guess work out of attaching the seat and, again, left no visible screws in the top of the seat.

Ana White’s measurements for the distance between the side apron and the seat support boards is only 3 inches. This is fine until you have to attach those support boards to the back apron. By then, you have all your side aprons and seat support boards firmly attached to the front apron, the seat, and the front legs. I saw this problem coming, so I added another inch and a half between the sides and the supports to allow for the drill. That still was not enough room for my small hands and my Ryobi drill to get between the boards and attach them to the back apron. I would suggest you leave at least 5″ inches of space between these boards.

patiochairsectionalbackIf you are making this chair from the 2x4s, remember that many of the measurements change. Be sure to check the site for the 2×4 built sectional for these changes. For instance, the back seat board for the 2×4 plan needs to be 13 and 1/2 inches from the ground, rather than the 15″ shown on the Ana White plan. One day, I’m going to do the smart thing and print these plans out so that I don’t have to burn wheelchair batteries running back and forth to my computer to double check! I did double check the measurements and instructions each step of the way, and wrote myself about a dozen sticky notes, so I didn’t have any major oopses. Also, you can really see in this picture that another board across the back is needed.

patiochairsectionalfrontHere is the finished patio chair. The plan is for a sectional which I hope to build. Ana White’s page shows how to attach the pieces to each other. To me, that defeats the purpose of having a sectional, so I’m not going to attach each piece. This way, if I need extra chairs by the pool or by the fire pit, I can just swipe a couple from the sectional.

Remember, this is reclaimed wood from Craig’s List. The boards are not perfect and, therefore, neither is the chair they’ve been used to build. If you’re using reclaimed wood, prepare for a few surprises. The board you cut so precisely to fit, may have just enough of a mild twist or bow that it doesn’t fit the way you expected. This is what they make wood clamps, power sanders and cuss words for.


Share this:

  • Twitter
  • Facebook

Like this:

Like Loading...

Surprise! It’s a Hanging Bed!

08 Thursday May 2014

Posted by Jean in Home and other Repairs, Uncategorized, Wood Crafts

≈ Leave a comment

Tags

DIY, garden, garden bed, hanging bed, pallet, swinging bed, yard

First I’ll show this picture of the bed and then I’ll tell you why this is not the hanging patio bed we originally planned. We will be putting the arms on this week and painting it when the winds die down.

surpriseproject4bedboxWhen we started this project, we had seen several articles about hanging patio beds, how to build them and even people selling them. Looking at the beds themselves, we knew this would be a big project and we’d have to figure out how to do many things, but we really wanted to give it a go. We had all the items we needed to build the bed from the freebie pallets to the Craig’s List wood pile and all we’d need to purchase would be the hardware. We thought. Remember in the blog post “Surprise Project 2: The Surprise is On Us” I mentioned not putting off something you know is going to be a problem later? Yeah, well, here is a picture of the problem we put off until after we put the 150 lb bed together.

surpriseproject4patioproblemoI saw this problem before we began and after seeing all of those handy dandy videos and tutorials, including one from Home Depot, I thought we could figure out a way to deal with it later. The problem is that those are simple 2 x 6s attached to the house with joist hangers. The outer edge of the patio is supported by 4 x 10 beams supported by large log columns. I knew we’d need to figure out a way to bolster the support system of the 2 x 6s but didn’t know how to add support to where the beams join the house. Turns out we couldn’t. After speaking with the very helpful and informative manager of the lumber department at our local Home Depot, we learned that our 6 to 12 pack a day builder had built our patio roof as if it were a simple addition and not the new construction that it was. He told us that most homes under construction have the patio roof firmly attached to the frame of the home and roof. Our guy, slapping up houses cheap and fast during the real estate boom of ’05, did not. Those beams you see up there are attached to nothing more than the fascia. The bed alone might have pulled the fascia down and putting people on the bed would have been calamity.

We considered plan B, which was to hang the bed in a two point system from the large, well supported beam at the outer edge of the patio seen below.  Our patio faces west. This is Arizona. During our 4 month season from hell, the patio can reach 130 degrees by the time the full sun hits it in the afternoons. So right from the get go I didn’t want to hang the bed right where the sun would hit it for 6 to 8 hours. I also didn’t feel the two point system attached to the main beam would allow it to swing in a stable manner. It seemed to me that this would cause a hammock effect and I didn’t want to get dumped onto the patio. Thirdly, our patio has three access points to the pool and back yard. The only way to hang the bed on that one beam would have blocked one of those access points.

surpriseproject4mainpatiobeamThis left us with Plan C., which was to build a very sturdy frame that would stand up to the swinging motion of the bed in four directions as well as 600-700 lbs of weight. Back to Home Depot we went, I’ve been there so many times per week now that even when I don’t need to go my truck has bypassed the grocery that was my intended target and wound up in the Home Depot parking lot. We waited to speak to the chief wood guru who was nice enough to help me decide which wood and size that would handle our load bearing issues. I cannot stress enough that newbies to DIY, like us, take the time to wait and ask the head honchos in each department for their advice. The two top guys in the lumber area at our local Home Depot have been invaluable. You may have to actually corner these guys because they are always busy, and you may have to use a little patience and tact if they hit you with a statement like “Unless I came to your house and looked I can’t tell you what would work…” or something to that effect. Simply ask something like “How can I describe this to help you visualize the problem”, be ready to draw pictures or even better, have photos on your cell phone handy to show, because we all know they are not coming to your house to look at the problem.

For the frame, we chose two 10 ft. 4 x 6 fir beams, one 8 ft. 2 x 6 fir beam, and four 8 ft 4 x 6s for the posts. We used 8 inch carriage bolts to attach the long beams to the posts, and four 3 inch screws to attach the 2 x 6s to the posts on each end of the frame. The 2 x 6s are non-weight bearing and are just there to provide the necessary stability for the back and forth motion of someone on the swing. We used four heavy duty 8″ eye bolts on the long beams and four heavy duty 6″ eye bolts on the bed frame. We set the posts so that there would be about 8 inches of swing room side to side to accomodate random jostling, and about the same back to front to quell the urge for excessive swinging. The bed still swings aplenty back to front, but we didn’t want anyone going crazy with it.

surpriseproject4frame

When setting the posts, we leveled each one every step of the way and leveled each long beam and side support. The 8′ posts are sunk 2 feet into the ground in cement, bringing the height of the frame to six feet tall. As there isn’t enough room to walk under the frame, due to the size of the bed, we felt this was sufficient because anyone taller than six feet would be in the process of sitting, seated, or snoozing and wouldn’t bonk their head. Our excessive leveling process really paid off because the bed swings true. We hung the bed two feet from the ground and used four feet of heavy duty chain on each corner.

We still need to add the arms and back and hope to incorporate some of the natural mesquite branch trimmings. I have a mattress topper on order and will be painting the bed and frame, but it’s already quite a lovely addition to the back yard and it’s been a real temptation to nap already.

Update: Finally got the mattress and linens for the bed. Here’s how it looks all dressed up!

hangingbeddressedupOf course, it’s the end of May and it’s 95 degrees in the shade at 10:00am, but I’ll be able to cozy up and enjoy it this evening, or maybe ’round midnight, for a week or two until it’s 95 degrees at midnight. This fall it will be glorious though!


Share this:

  • Twitter
  • Facebook

Like this:

Like Loading...
← Older posts

Posts, stories, woes, vittles, photo and video evidence

Categories

Enter your email address to follow this blog and receive notifications of new posts by email.

Join 45 other subscribers

Current woes, tall tales, and lessons learned

  • Here are the mutts.
  • January Cure 2018- Flowers and Floors and Stuff
  • January Cure 2018 Day 2- Make a list
  • January Cure 2018- Day 1- Clear and Organize a Drawer
  • January Cure 2018: But first a word from our sponsor
  • January Cure Weekend 1- Flowers and Floor
  • Day 3 January Cure 2017- Purge the Pantry vs Cabinet Cleanout
  • Day 2 January Cure 2017- Making a List (humming- checking it twice)
  • January Cure 2017 Day 1
  • Billiam’s List Bedroom Tile: Pat us on the head!

Tags

cabinet cabinet doors chickens cleaning cleaning house cleaning stainless death of spouse desert gardening DIY diy chair do it yourself dreams of dead spouse easy bedspread easy cotton bedspread egg bound farm floors garden garden bed gardening grief hanging bed heirloom squash hens home cleaning home decor home furniture home improvement homemade furniture home organization horse house cleaning how to handle grief how to hide cord clutter how to make serving trays January Cure January Cure 2016 January Cure 2017 January Cure 2018 landscaping mayo arrote miniature horse no sew bedspread off road wheelchair organic gardening organizing ottoman outdoor furniture outoor furniture pallet patio patio chair patio furniture pumpkin serving trays squmpkin storage bench swinging bed tank chair TankChair tech storage tie-dye tie-dye bedspread to-do lists tools tracked wheelchair tree trimming upcyle cabinet door upholstery wood chair wood craft wood crafts wooden chair wood furniture yard

Blog at WordPress.com.

  • Follow Following
    • Jean's Blog of Life, Farms and Everything
    • Join 45 other followers
    • Already have a WordPress.com account? Log in now.
    • Jean's Blog of Life, Farms and Everything
    • Customize
    • Follow Following
    • Sign up
    • Log in
    • Report this content
    • View site in Reader
    • Manage subscriptions
    • Collapse this bar
 

Loading Comments...
 

    %d bloggers like this: