• As Life Would Have It

Jean's Blog of Life, Farms and Everything

~ Welcome to life on our mini-farm in the AriDzona desert!

Jean's Blog of Life, Farms and Everything

Tag Archives: storage bench

January Cure, Assignment 5

08 Thursday Jan 2015

Posted by Jean in Home and other Repairs, Home Decor, January Cure, Uncategorized

≈ 5 Comments

Tags

DIY, do it yourself, home decor, January Cure, storage bench, wood crafts

Today I am supposed to sit in an area of the house where I rarely sit and contemplate on a problem area, envision the room empty, and rebuild that problem area in my mind, imagining how I want it to look and function. Can I just say here that there probably isn’t a place in my house where I couldn’t sit for hours doing this? Not even on my freshly changed patio and backyard. There’s always something that could be added, changed, something that could work better. I’m beginning to see that the January Cure, isn’t. It’s the 2015 Cure.

Today, I have meditated on the Office/Outbox. While this room is being used as the Outbox, there’s nothing I can do to start the changes I need in there, but I can imagine them and begin the plan. It’s an odd rectangular room with one window,  4 bookshelves, a wall shelf,  a double closet, a desk and a trundle bed. Even without the collected gleefus that’s been shoved in there from every closet and corner I’ve cleared, it doesn’t function well and it’s anything but attractive. I need it to function as a guestroom/office/craft room. It will need to accomodate a sturdy queen sized bed, craft table and computer desk. It will also need to be accessible to wheelchairs. Umm.. yeah.

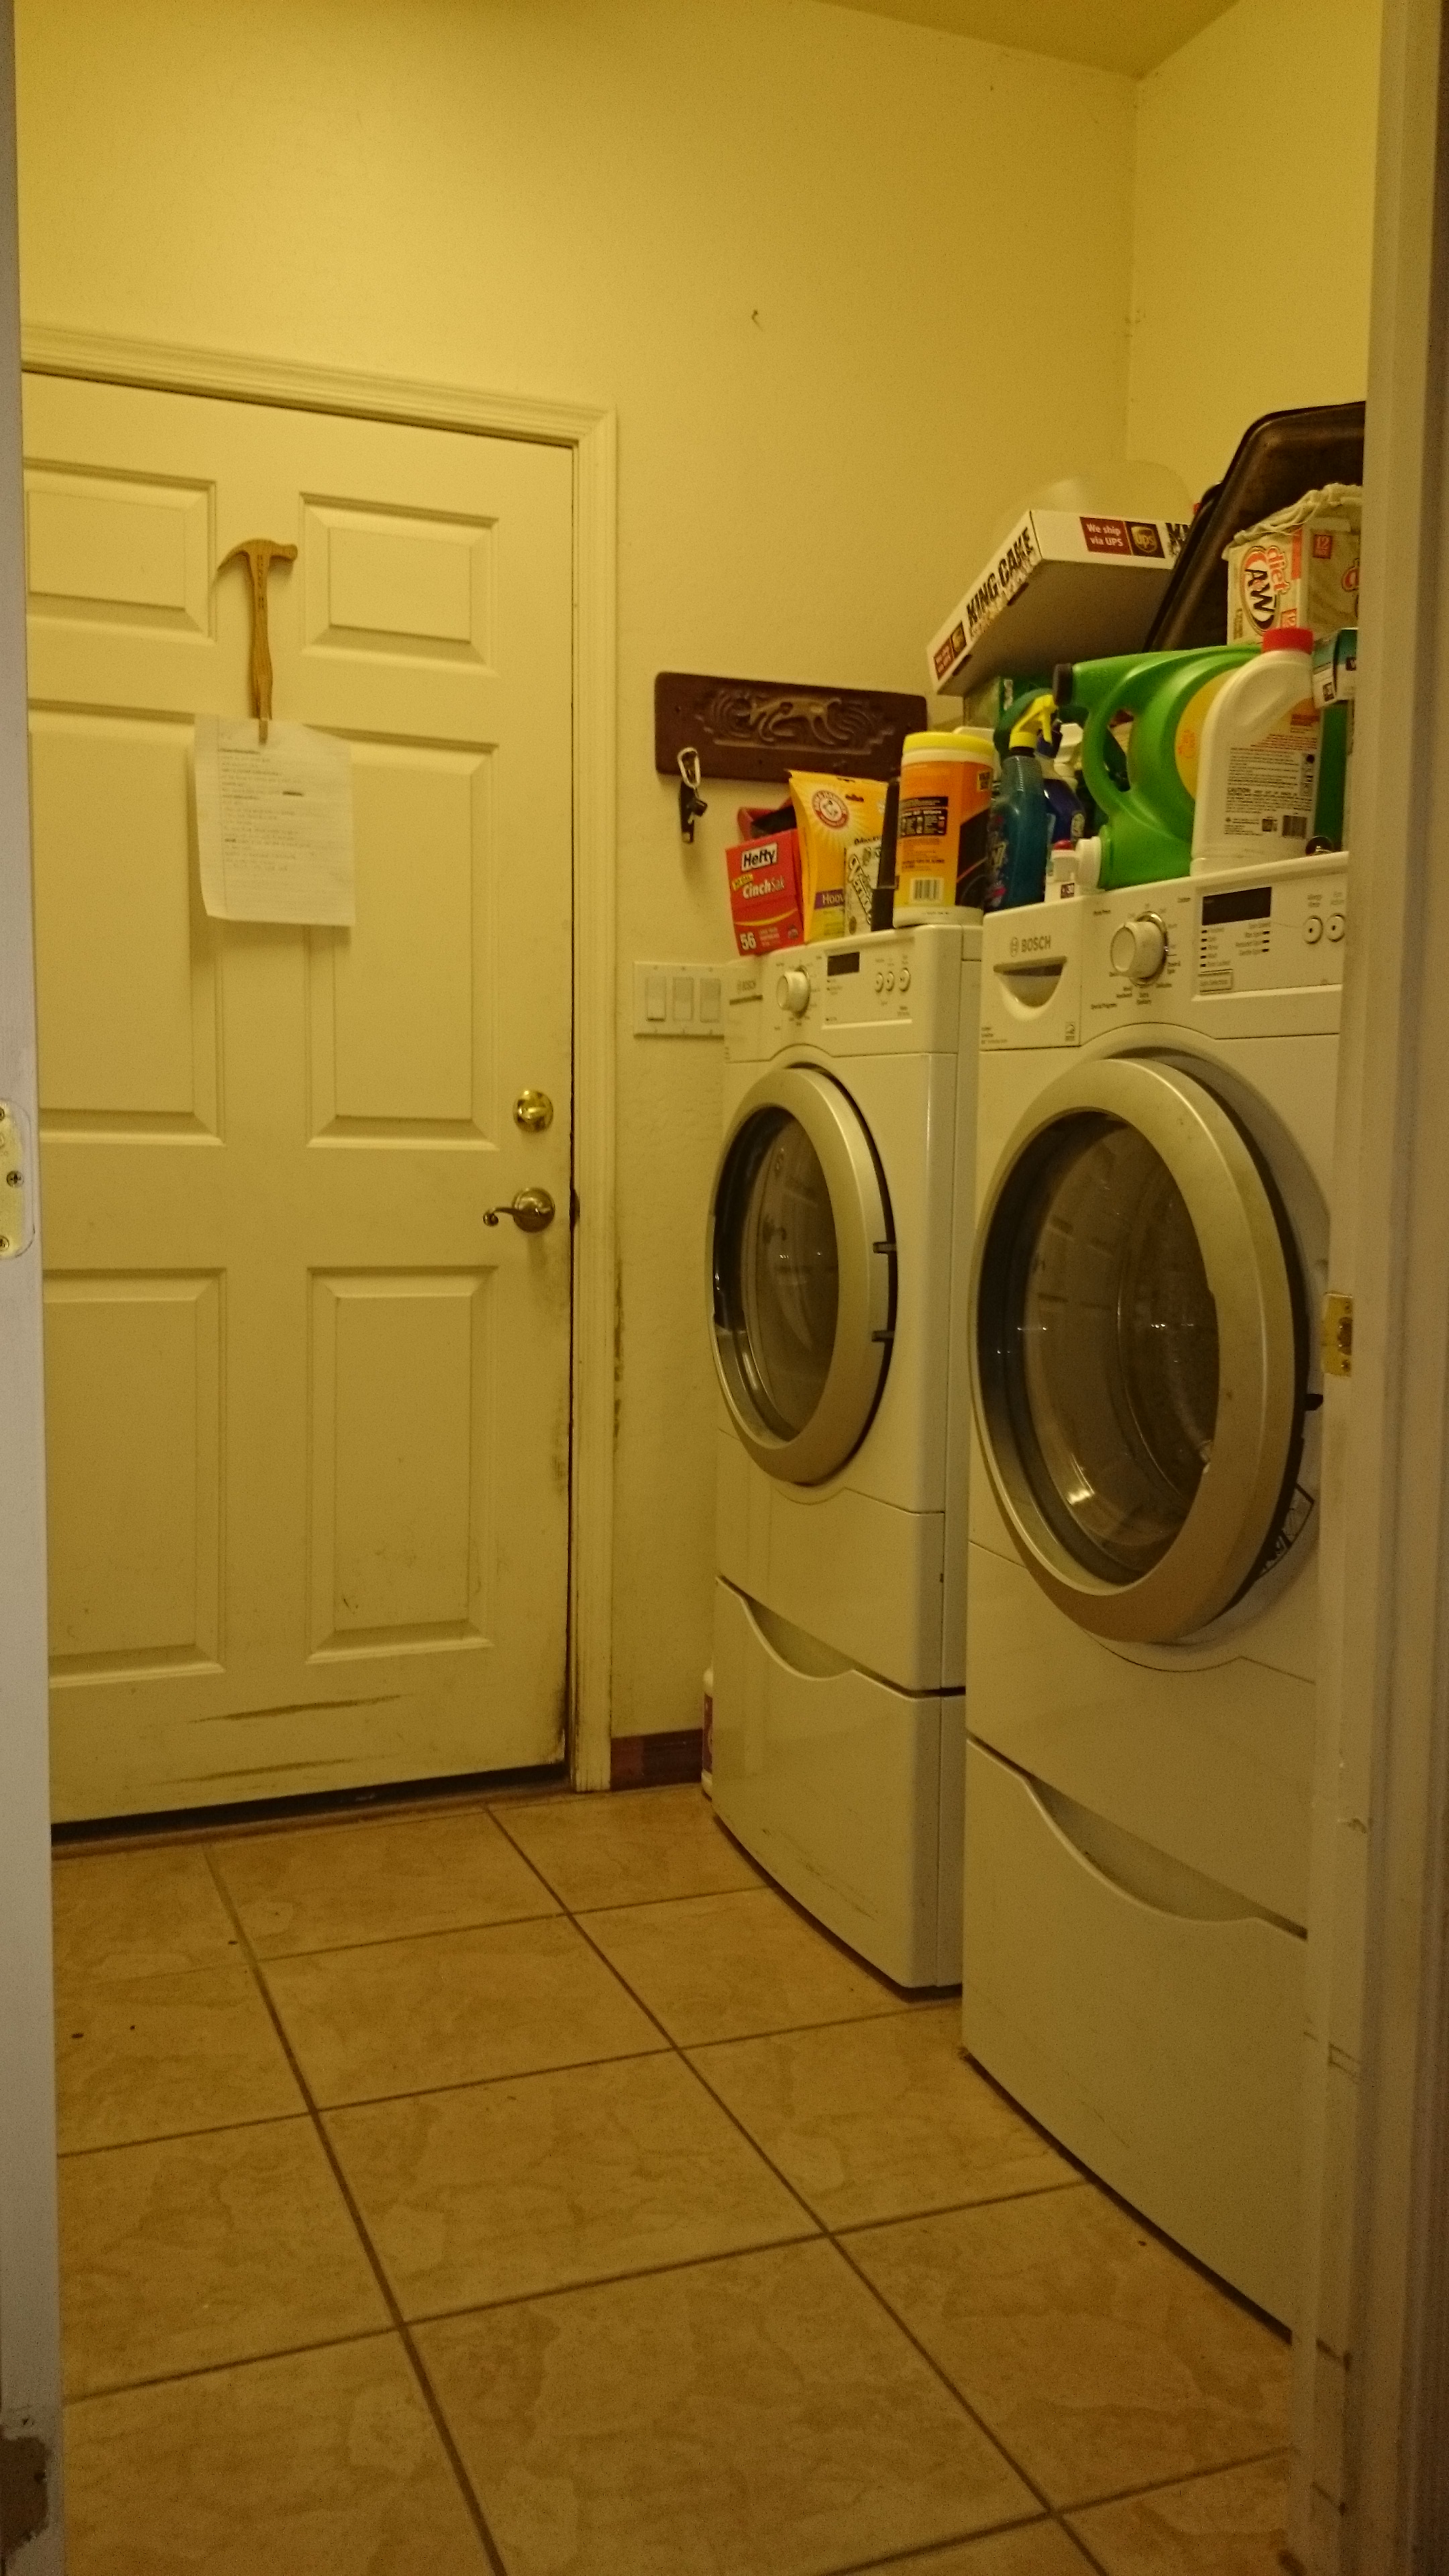
The second half of today’s assignment is to pick a project from my list to do this month. I’m ignoring their “this month, in about three hours” recommendation. I’m staking claim on the <insert heebie jeebie causing music again> Laundry Room. This room has been the number one problem in this house since the day we moved in.

The laundry room is really a short hallway leading from the main house into the garage. It’s also the only wheelchair accessible point of entry to the house. It’s also where everyone enters when visiting. Why no one uses the front door I don’t know, but there you have it. The doors were build wide enough to allow for wheelchair access. But the room itself is so short that when both doors are open they overlap and bang into each other. invariably knocking into the sliding double doors behind them which hide the laundry closet. With the front loading washer and dryer in there (I chose front load because it’s easier for me to get clothes in and out from my wheelchair), I can’t back up more than a few inches while opening either appliance without knocking one of the sliding double doors off it’s tracks. Bottom line, the room is a nightmare.

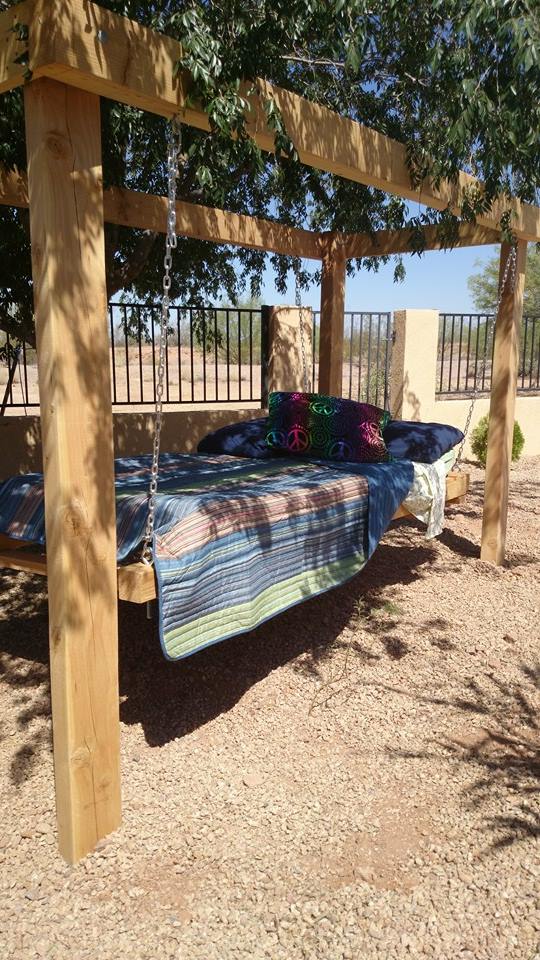
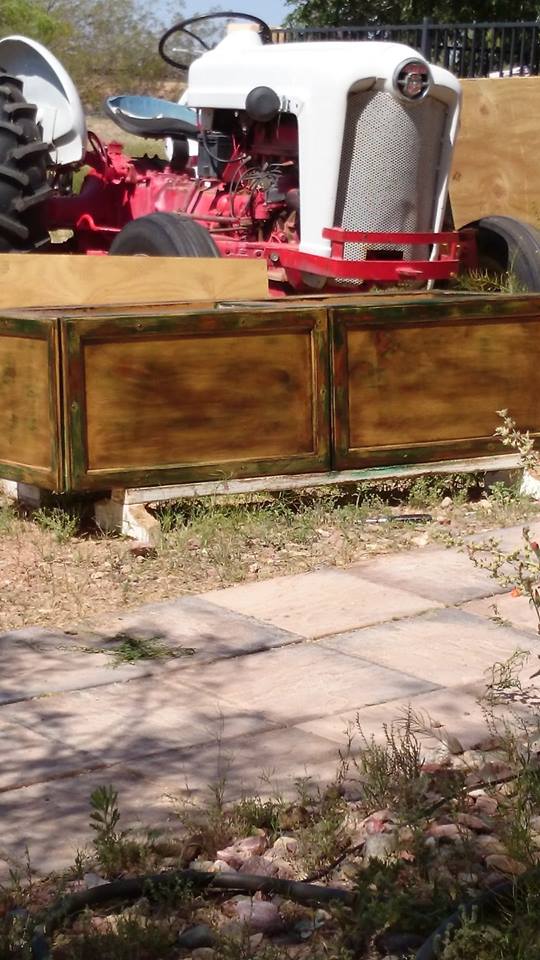
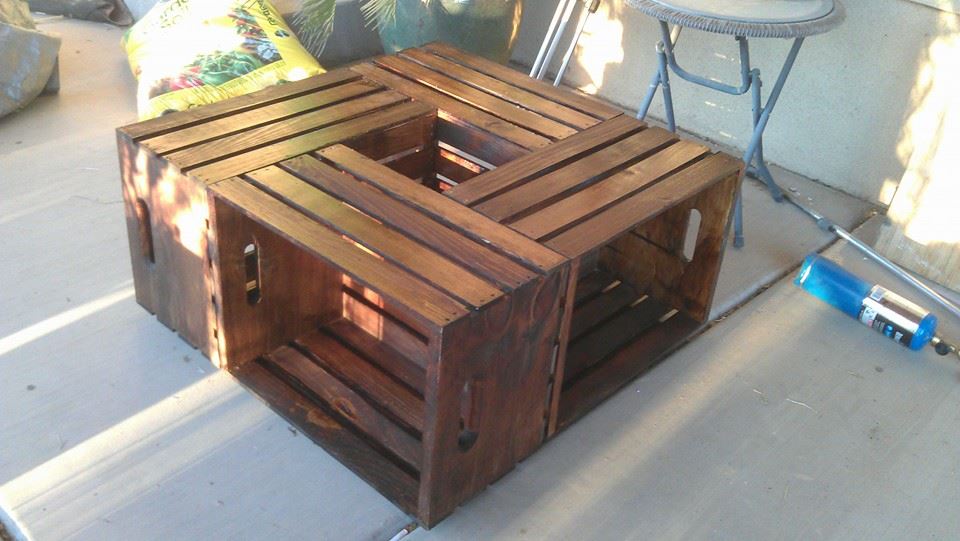
This will be my month long, every spare moment, project. I have wood, I will build storage. My son and I build a backyard filled with furniture including a beautiful storage bench, I know we can insert a storage bench in the laundry closet. I have drills, I will remove doors. I have imagination, I will figure out something to cover the entry into the laundry room so that I don’t have to stare at the washing machine.  I will build a better over head shelving system that actually works and that I can actually reach. The room will have a “landing strip” and a way to hang coats. All in a space the size of some walk in closets. Well, that’s the plan anyway!

First I’ll get rid of the clutter. There’s a lot in there. Good things I’d use if I could reach them, but most of it is stuff I’ve long since lost the use for. John is home today and can reach the things on the shelves that are too high for me. This will be a clutter free area by the end of the day.

Before

laundrybeforelaundrybefore2


Share this:

  • Twitter
  • Facebook

Like this:

Like Loading...

Billiam’s Backyard and Patio Reveal!

01 Monday Sep 2014

Posted by Jean in General Farm Stuff, Grief, Home and other Repairs, Rural life, Uncategorized, Wood Crafts

≈ Leave a comment

Tags

DIY, diy chair, do it yourself, garden, garden bed, hanging bed, home decor, home furniture, homemade furniture, how to handle grief, landscaping, outdoor furniture, pallet, patio, patio chair, patio furniture, storage bench, swinging bed, wood chair, wood craft, wood furniture, yard

First of all, I need to thank John. Without his help some of these things could never have been accomplished and the rest would have taken me two years instead of 6 months. Secondly, I want to thank Ana White for the inspiration to Do It Ourselves, and the little family at More Like Home for adjusting some of the plans on Ana’s page so that the projects could be built with 2x4s and for their other 2×4 projects. Thank you to the Apartment Therapy and Houzz sites for their daily decorating inspirations. Thank you to the guys at Articulate Motion for keeping us in pallets, donating a chunk of fabric, and adjusting the metal fire inserts so that they could be used in the dining table. I want to thank the DIYers out there who showed us how to make Beer Bottle Tiki Torches and inspired our hanging bed. Speaking of that hanging bed, I want to thank the wood gurus at Home Depot for putting us on a safe path on that journey. Finally, thanks to all the friends and family who cheered us on and helped us through this traumatic year.

So, here we go! This is what the patio looked like before when we were in the first week of the redo:

patiosouthendbeforepationorthendbeforeBleak wasn’t it?

INSERT FANFARE HERE!

patiotriumphpatioreflectionpatioatnightpatiodiningareapatiogardenconversationareabeerbottletorchespatiobeerbottletorches1patiotablefireinsertshangingbeddressedup

Share this:

  • Twitter
  • Facebook

Like this:

Like Loading...

The Patio Storage Bench DIY from Billiam’s To-Do List

17 Saturday May 2014

Posted by Jean in Uncategorized, Wood Crafts

≈ 1 Comment

Tags

DIY, outoor furniture, patio, patio furniture, storage bench, wood furniture

Work continues on the patio in fits and starts and something always seems to pop up as a road block to completion of projects. Tools break, we run out of screws (for my birthday I’m asking for at least two boxes of screws in every size known to hardware stores), we don’t have the right tool, a project has to be completely rethought (the hanging bed) and we don’t have the right lumber, we run out of time, high winds, other chores have to be done, boy you name it and it can, and will, get in the way of the fun patio projects. When working on a budget as tight as mine is, however, the problem that crops up most often is how to find less expensive alternatives to what we need.

We had started this storage bench two months ago. My son got the frame built, I sanded the reclaimed cabinet doors and, once they were attached to the frame, I painted the bench with one coat of yellow and one coat of green, re-sanded it all, then stained and then applied 3 coats of spar urethane. It was time to upholster the lid. That’s where the project ground to a halt.

storagebenchBecause this bench will be on the patio and exposed to the Arizona heat, sun, and desert dirt, I had to be careful what I used to upholster the lid to provide comfortable, attractive and functional seating. If you have an unlimited or at least a decent budget you can find outdoor upholstery materials, but my budget is such that I need to find seriously inexpensive or free materials. The project ground to a halt because foam sheets and fabric marketed for outdoor furniture use is too expensive for my close to zero budget.

After a good bit of research and a lucky insight provided by my son who makes ragtops for cars, I discovered much about foam and alternative upholstery fabrics. I learned that polyurethane foam is naturally mildew resistant and it is marketed for a number of uses. The uses it is marketed for seem to be the driving force behind the prices, even more so than the dimensions. I have discovered this phenomenon before when a 20 gallon plastic bucket at the feed store cost me almost 20.00 and I subsequently found the same type and size bucket at Lowes for 8.00. The only difference in the buckets were that one was marketed for use with pampered horses and one was marketed for use in household cleaning.

Armed with my new knowledge, I went to Walmart and found polyurethane foam bed toppers. They’re only an inch thick, they have a molded pattern on one side but are completely smooth on the other side. While the thickness and the molded pattern were unsuitable for my needs, the sheets of foam were the size of a full sized bed and only 11.00 each. I could work around the thickness problem and the pattern for that price! I walked out of the store with two of the full sized foam bed toppers. All I needed to find was the weather resistant fabric.

Enter my son who makes ragtops for cars at a local fabrication business. I was showing him the projects we had going and explained the problem with this bench when he told me of the properties of the canvas cloth used for convertible tops and sliding ragtops. The material is highly flexible, has to be extremely durable and it also, of course, can’t let water in to the interior of the cars. BINGO. The choice of colors is pretty limited, although I suspect you can find it online in almost any popular car color. The colors most often used, however, are black, tan and grey. Grey wouldn’t go well with the bench color and I am trying to move away from desert beige, so I chose the black. The fellows at the fabrication shop graciously donated a piece of their canvas cloth that was large enough to cover the bench top with enough left over to upholster a couple of ottomans.

benchupholstery1First, I cut the mattress toppers in half, then stacked three of those halves to make a 3 inch thick foam pad, with a smooth side facing up as well as smooth against the lid. Then I laid the lid on top and trimmed around the edges, leaving just enough overhang to prevent anyone feeling the edge of the plywood while seated. This doesn’t have to be a perfectly straight edge, just as near as you can manage. Once the fabric is pulled taught around it, the foam will, to a fair degree, conform.

benchupholstery2The next step was to lay down the fabric and measure to see how much I would need to cover the lid and the foam. You will want to pull the fabric taught on each edge before you mark your cuts and have a firm, unwrinkled cushion when done. Using a staple gun, staple the edges first and save the corners for last. Corners take a little patience but there are a lot of techniques on YouTube to help you manage them. You’ll need to make several pleats to get around the corner and make it look neat. The number of pleats/folds you’ll need to make on your corners depends mainly upon the type of fabric and how much of that fabric has gathered at the corners while stapling down the straight edges. Staple each pleat down until you have a nice tailored corner.

benchupholstery3Turn it all over and admire your handiwork!

benchupholstery4Take it outside and attach the hinges. An exacto knife to cut through the fabric under the holes of the hinges helps here so that the material doesn’t pull and get tangled in the screws. Just lay the hinges over the material where they will be attached and make a few slices in the holes with the point of the knife. Don’t sit there trying to cut out a perfect little hole, an X sliced through works just fine. Then, have a seat on your lovely, comfortable new bench. Enjoy a glass of tea and try to pretend that there are no other building materials junking up your patio chi. Congratulate yourself on ticking one more project off the list that will end when you have a beautiful and relaxing, junkless patio one day.


Share this:

  • Twitter
  • Facebook

Like this:

Like Loading...

Billiam’s List Patio Furniture

08 Tuesday Apr 2014

Posted by Jean in Uncategorized, Wood Crafts

≈ Leave a comment

Tags

DIY, do it yourself, home furniture, ottoman, patio furniture, storage bench, wood craft

My husband was a big man. He was 6’4″ tall and weighed 300 lbs.  We wanted nice patio furniture, but couldn’t find a thing that we thought could handle over about 200 lbs. We decided we would have to build our own and that project went on his To-Do list. We had built shelves, we’d stained and installed our own baseboards and we’d built our own storage chest ottoman. We’d built them together, but he was always the brains, strength and know-how behind each project.

I decided to tackle one of the building projects he’d wanted to do and my son, John, and I made another storage chest ottoman, using the old one as our guide, for the den.

IMAG1082

After we got that basic box and lid figured out, we got cocky and started making plans for all the great furniture we’re going to build. I also started looking at Craig’s List for less expensive materials because even though building that ottoman was less expensive than buying a good quality one, it was still too expensive for me to continue buying all the materials at Home Depot. I checked Craig’s List twice a day for 3 days before an ad appeared. An elderly man was selling a side yard full of all size lumber for 60.00. Soon I had a side yard full of lumber in my pick up truck and on the way home. While we were making plans for that lumber, another ad appeared on Craig’s list. This time a fellow was selling used cabinet doors 2.00 ea. I took one look and called. Came home with a pickup bed completely jammed full of oak cabinet doors of varying sizes. With some of the smallest doors I made this planter box.

cabinetdoorplanterdoneFirst I sanded the old cabinet finish off, then painted with green house paint on the frame, painted with Behr Apple Butter paint on the insets, then sanded over the whole thing again to expose some wood. Then I went over each door with Min-Wax Espresso stain and let it soak in for about 10 minutes before thoroughly wiping the stain off. After that cured and dried I applied 3 coats of Spar Urethane to hold up in the AriDzona heat and sun. We put casters on the bottom so we can easily roll it out of the way or into a different spot after it’s filled with wet dirt and plants.

Then we got really cocky and decided it was time to try building a storage bench. We used the same paint/stain technique and used larger cabinet doors. This required a little thought because we were trying to build the bench to fit the cabinet doors, so none of the online plans we had found earlier on were useful to us. We plan to build at least one more of these benches. They will have cushioned tops, much like the storage chest ottoman, but the cushion and cover will have to be of weatherproof materials. We believe we have a handle on a brilliant weatherproof cushion cover (brilliant in all ways, including cheap to free), but need to find an inexpensive source of mildew and mold resistant foam. See the post about the Techno-clutter for another great use of the reclaimed cabinet doors and lumber.

storagebenchThe other project we’ve done so far for the patio is a coffee table made of four inexpensive craft store crates and a square of reclaimed plywood. I stained the crates with Mission Oak stain and gave them 2 coats of Spar Urethane.

cratecoffeetablefinishedI still have oodles of wood and cabinet doors left. Plenty for another bench, a picnic table, a surround to hide our messy bbq grill, several more planter boxes, a nice wooden bench with a back, and several other projects that are rumbling around in the back of my mind. All for about 160.00 thanks to Craig’s list, some elbow grease and ingenuity.

Share this:

  • Twitter
  • Facebook

Like this:

Like Loading...

Posts, stories, woes, vittles, photo and video evidence

Categories

Enter your email address to follow this blog and receive notifications of new posts by email.

Join 45 other subscribers

Current woes, tall tales, and lessons learned

  • Here are the mutts.
  • January Cure 2018- Flowers and Floors and Stuff
  • January Cure 2018 Day 2- Make a list
  • January Cure 2018- Day 1- Clear and Organize a Drawer
  • January Cure 2018: But first a word from our sponsor
  • January Cure Weekend 1- Flowers and Floor
  • Day 3 January Cure 2017- Purge the Pantry vs Cabinet Cleanout
  • Day 2 January Cure 2017- Making a List (humming- checking it twice)
  • January Cure 2017 Day 1
  • Billiam’s List Bedroom Tile: Pat us on the head!

Tags

cabinet cabinet doors chickens cleaning cleaning house cleaning stainless death of spouse desert gardening DIY diy chair do it yourself dreams of dead spouse easy bedspread easy cotton bedspread egg bound farm floors garden garden bed gardening grief hanging bed heirloom squash hens home cleaning home decor home furniture home improvement homemade furniture home organization horse house cleaning how to handle grief how to hide cord clutter how to make serving trays January Cure January Cure 2016 January Cure 2017 January Cure 2018 landscaping mayo arrote miniature horse no sew bedspread off road wheelchair organic gardening organizing ottoman outdoor furniture outoor furniture pallet patio patio chair patio furniture pumpkin serving trays squmpkin storage bench swinging bed tank chair TankChair tech storage tie-dye tie-dye bedspread to-do lists tools tracked wheelchair tree trimming upcyle cabinet door upholstery wood chair wood craft wood crafts wooden chair wood furniture yard

Blog at WordPress.com.

  • Follow Following
    • Jean's Blog of Life, Farms and Everything
    • Join 45 other followers
    • Already have a WordPress.com account? Log in now.
    • Jean's Blog of Life, Farms and Everything
    • Customize
    • Follow Following
    • Sign up
    • Log in
    • Report this content
    • View site in Reader
    • Manage subscriptions
    • Collapse this bar
 

Loading Comments...
 

    %d bloggers like this: