• As Life Would Have It

Jean's Blog of Life, Farms and Everything

~ Welcome to life on our mini-farm in the AriDzona desert!

Jean's Blog of Life, Farms and Everything

Tag Archives: wood craft

Surprise Project 1

18 Friday Apr 2014

Posted by Jean in Uncategorized, Wood Crafts

≈ 5 Comments

Tags

DIY, do it yourself, outdoor furniture, patio, wood craft

I’m going to write about this project a little differently. It’s the largest DIY project we’ve tackled so far, both in size and difficulty. There are a lot of things we’re going to have to figure out along the way and new wood skills we will have to learn. Thus, I thought it’d be fun to just blog about each step as we go along. Well, that’s my story and it’s sticking to me, as William always used to say. I’m sure it has nothing to do with the fact that it’s a project John and I are both excited about, I’m overly anxious to tell everyone about it, and I simply can’t wait until we’re done to write about it.

Here are the materials we’ve collected so far. Again, most of the stuff we’re using is reclaimed lumber that was donated to our cause by the guys at http://articulatemotion.com/ , in Phoenix, or found on Craig’s List. Since Craig’s list hasn’t shown me good lumber in a couple of weeks, I did go out and buy some inexpensive 4 x 4s at Home Depot. You’ll also notice in the picture some found items we plan to incorporate into the design.

hangingbedmaterials

Share this:

  • Share on X (Opens in new window) X
  • Share on Facebook (Opens in new window) Facebook
Like Loading...

Reclaimed Cabinet Door Serving Trays

14 Monday Apr 2014

Posted by Jean in Uncategorized, Wood Crafts

≈ Leave a comment

Tags

DIY, do it yourself, home decor, how to make serving trays, serving trays, wood craft

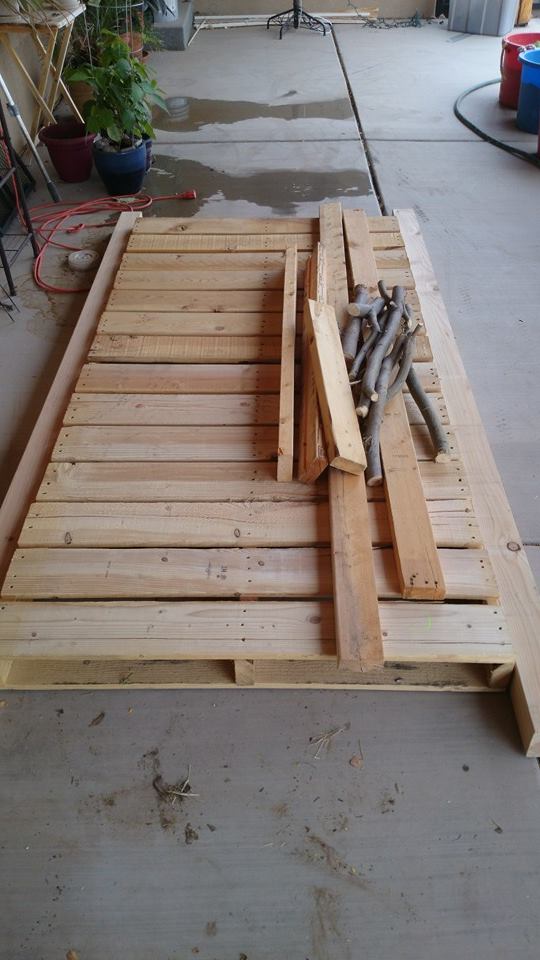
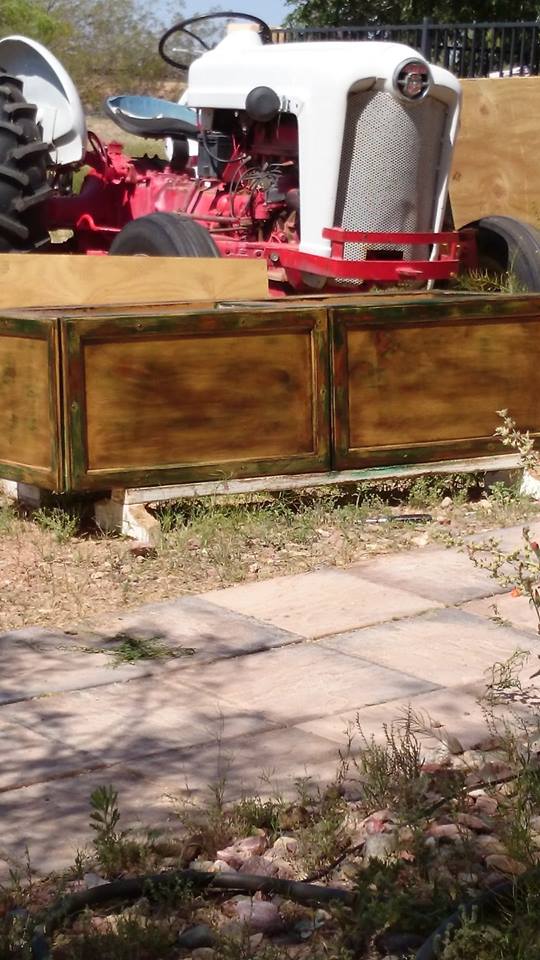
Most of the old cabinet doors we found on Craig’s List were the sizes we wanted to make a surround for the grill, planter boxes, and bench seats. I also spied a few odd sized doors there and immediately knew they’d make great serving trays so I loaded those up too. I mean, if I’m going to have a nice new patio one day, I’m going to want to serve food out there right?

This is an extremely easy project, and is only time consuming because of the wait times for paint and poly to dry. Unless you just like hanging out watching paint dry, you can go back to whatever else you need to do.

For the project you will need:

1. An old cabinet door, preferably unpainted. If the door is painted you can either strip it or let the old paint become one of the colors in the finished project. 2. A sample jar of paint in what ever color appeals to you. 3. Stain. I use MinWax Espresso. On used cabinet doors, I find a dark stain makes a more noticeable difference and adds to the “old” look I’m trying to achieve. 4. Medium grade sand paper. 5. High Durability polyurethane. 6. Door pulls.

cabinettray1This reclaimed cabinet door had seen some abuse. It started as a golden oak, then apparently someone had applied a polyshade to one side (good grief, they didn’t even do both sides, didn’t that bug them whenever they opened that door?).

cabinettray2
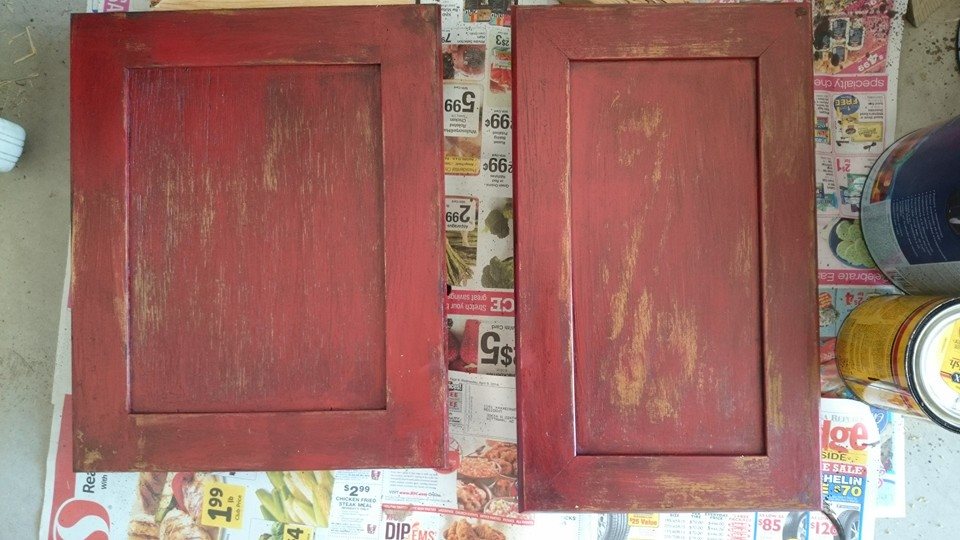
I had seen someone refurbish an old dresser using red paint and then distressing it. I liked it so I thought I’d use that on my trays. Everyone needs a dash of red somewhere. I picked up a sample jar of red which is enough to do probably 6 of these trays. I didn’t even try to paint a nice even coat. I just slapped it on the door in a medium thickness coat. Once dry, I went over them with a medium grit sand paper to get through the paint, through the polystain, and through the original stain in some areas, and to rough up the paint a bit all round.

cabinettray3After wiping off the sanding dust I liberally coated both doors with stain and let it set in for 10-15 minutes before thoroughly wiping it off. This will take at least two rags to remove all the excess stain.

cabinettray4
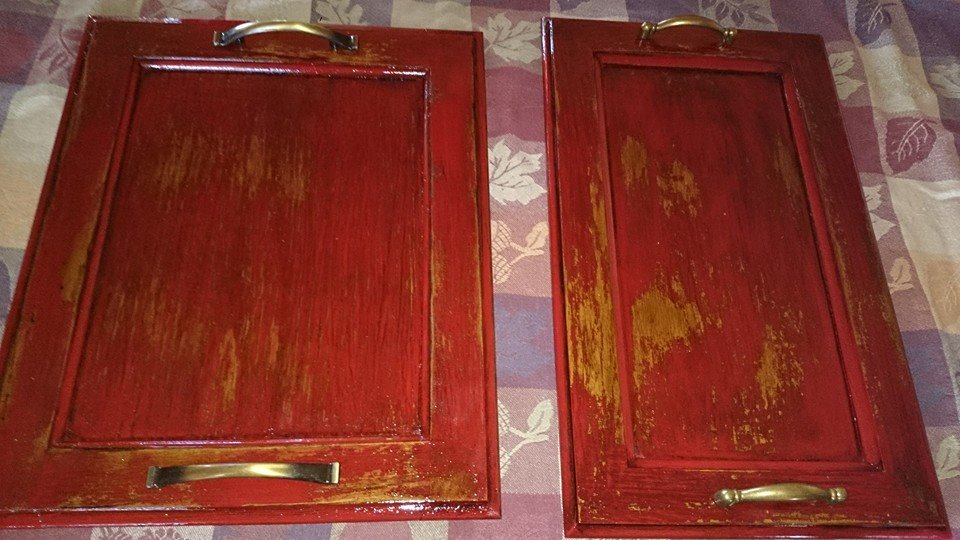
Now you can see the aged look the stain gives to the red and how it darkens the original wood.

cabinettray5Once the stain has cured and there are no sticky spots or glistening stain on the doors. Apply at least two coats of High Durability polyurethane. You won’t be able to slice cheese on these trays, but you want to be able to wipe salsa off of them easily. If you want to have a tray that you can put food directly on, get an untreated, unstained wood board and apply a non-toxic, food grade oil before adding the handles. The handles I used for these trays are reclaimed cabinet door pulls I found at the Habitat for Humanity ReStore. Once the urethane cures and hardens, it will hold up just fine to the normal abuse from chip and dip bowls, popcorn bowls, coffee cups, cold drinks, etc.and it will wipe clean with a damp rag.

No one says you have to use this weathered look and go through these steps. If you like lime green, purple, black, gold leaf, polka dots or whatever your heart desires, just paint your doors the way you love, rough the paint up just a little and urethane it before adding the handles.

Share this:

  • Share on X (Opens in new window) X
  • Share on Facebook (Opens in new window) Facebook
Like Loading...

Billiam’s List Patio Furniture

08 Tuesday Apr 2014

Posted by Jean in Uncategorized, Wood Crafts

≈ Leave a comment

Tags

DIY, do it yourself, home furniture, ottoman, patio furniture, storage bench, wood craft

My husband was a big man. He was 6’4″ tall and weighed 300 lbs.  We wanted nice patio furniture, but couldn’t find a thing that we thought could handle over about 200 lbs. We decided we would have to build our own and that project went on his To-Do list. We had built shelves, we’d stained and installed our own baseboards and we’d built our own storage chest ottoman. We’d built them together, but he was always the brains, strength and know-how behind each project.

I decided to tackle one of the building projects he’d wanted to do and my son, John, and I made another storage chest ottoman, using the old one as our guide, for the den.

IMAG1082

After we got that basic box and lid figured out, we got cocky and started making plans for all the great furniture we’re going to build. I also started looking at Craig’s List for less expensive materials because even though building that ottoman was less expensive than buying a good quality one, it was still too expensive for me to continue buying all the materials at Home Depot. I checked Craig’s List twice a day for 3 days before an ad appeared. An elderly man was selling a side yard full of all size lumber for 60.00. Soon I had a side yard full of lumber in my pick up truck and on the way home. While we were making plans for that lumber, another ad appeared on Craig’s list. This time a fellow was selling used cabinet doors 2.00 ea. I took one look and called. Came home with a pickup bed completely jammed full of oak cabinet doors of varying sizes. With some of the smallest doors I made this planter box.

cabinetdoorplanterdoneFirst I sanded the old cabinet finish off, then painted with green house paint on the frame, painted with Behr Apple Butter paint on the insets, then sanded over the whole thing again to expose some wood. Then I went over each door with Min-Wax Espresso stain and let it soak in for about 10 minutes before thoroughly wiping the stain off. After that cured and dried I applied 3 coats of Spar Urethane to hold up in the AriDzona heat and sun. We put casters on the bottom so we can easily roll it out of the way or into a different spot after it’s filled with wet dirt and plants.

Then we got really cocky and decided it was time to try building a storage bench. We used the same paint/stain technique and used larger cabinet doors. This required a little thought because we were trying to build the bench to fit the cabinet doors, so none of the online plans we had found earlier on were useful to us. We plan to build at least one more of these benches. They will have cushioned tops, much like the storage chest ottoman, but the cushion and cover will have to be of weatherproof materials. We believe we have a handle on a brilliant weatherproof cushion cover (brilliant in all ways, including cheap to free), but need to find an inexpensive source of mildew and mold resistant foam. See the post about the Techno-clutter for another great use of the reclaimed cabinet doors and lumber.

storagebenchThe other project we’ve done so far for the patio is a coffee table made of four inexpensive craft store crates and a square of reclaimed plywood. I stained the crates with Mission Oak stain and gave them 2 coats of Spar Urethane.

cratecoffeetablefinishedI still have oodles of wood and cabinet doors left. Plenty for another bench, a picnic table, a surround to hide our messy bbq grill, several more planter boxes, a nice wooden bench with a back, and several other projects that are rumbling around in the back of my mind. All for about 160.00 thanks to Craig’s list, some elbow grease and ingenuity.

Share this:

  • Share on X (Opens in new window) X
  • Share on Facebook (Opens in new window) Facebook
Like Loading...
Newer posts →

Posts, stories, woes, vittles, photo and video evidence

Categories

Enter your email address to follow this blog and receive notifications of new posts by email.

Join 45 other subscribers

Current woes, tall tales, and lessons learned

  • Here are the mutts.
  • January Cure 2018- Flowers and Floors and Stuff
  • January Cure 2018 Day 2- Make a list
  • January Cure 2018- Day 1- Clear and Organize a Drawer
  • January Cure 2018: But first a word from our sponsor
  • January Cure Weekend 1- Flowers and Floor
  • Day 3 January Cure 2017- Purge the Pantry vs Cabinet Cleanout
  • Day 2 January Cure 2017- Making a List (humming- checking it twice)
  • January Cure 2017 Day 1
  • Billiam’s List Bedroom Tile: Pat us on the head!

Tags

cabinet cabinet doors chickens cleaning cleaning house cleaning stainless death of spouse desert gardening DIY diy chair do it yourself dreams of dead spouse easy bedspread easy cotton bedspread egg bound farm floors garden garden bed gardening grief hanging bed heirloom squash hens home cleaning home decor home furniture home improvement homemade furniture home organization horse house cleaning how to handle grief how to hide cord clutter how to make serving trays January Cure January Cure 2016 January Cure 2017 January Cure 2018 landscaping mayo arrote miniature horse no sew bedspread off road wheelchair organic gardening organizing ottoman outdoor furniture outoor furniture pallet patio patio chair patio furniture pumpkin serving trays squmpkin storage bench swinging bed TankChair tank chair tech storage tie-dye tie-dye bedspread to-do lists tools tracked wheelchair tree trimming upcyle cabinet door upholstery wood chair wood craft wood crafts wooden chair wood furniture yard

Blog at WordPress.com.

  • Subscribe Subscribed
    • Jean's Blog of Life, Farms and Everything
    • Join 45 other subscribers
    • Already have a WordPress.com account? Log in now.
    • Jean's Blog of Life, Farms and Everything
    • Subscribe Subscribed
    • Sign up
    • Log in
    • Report this content
    • View site in Reader
    • Manage subscriptions
    • Collapse this bar
 

Loading Comments...
 

    %d